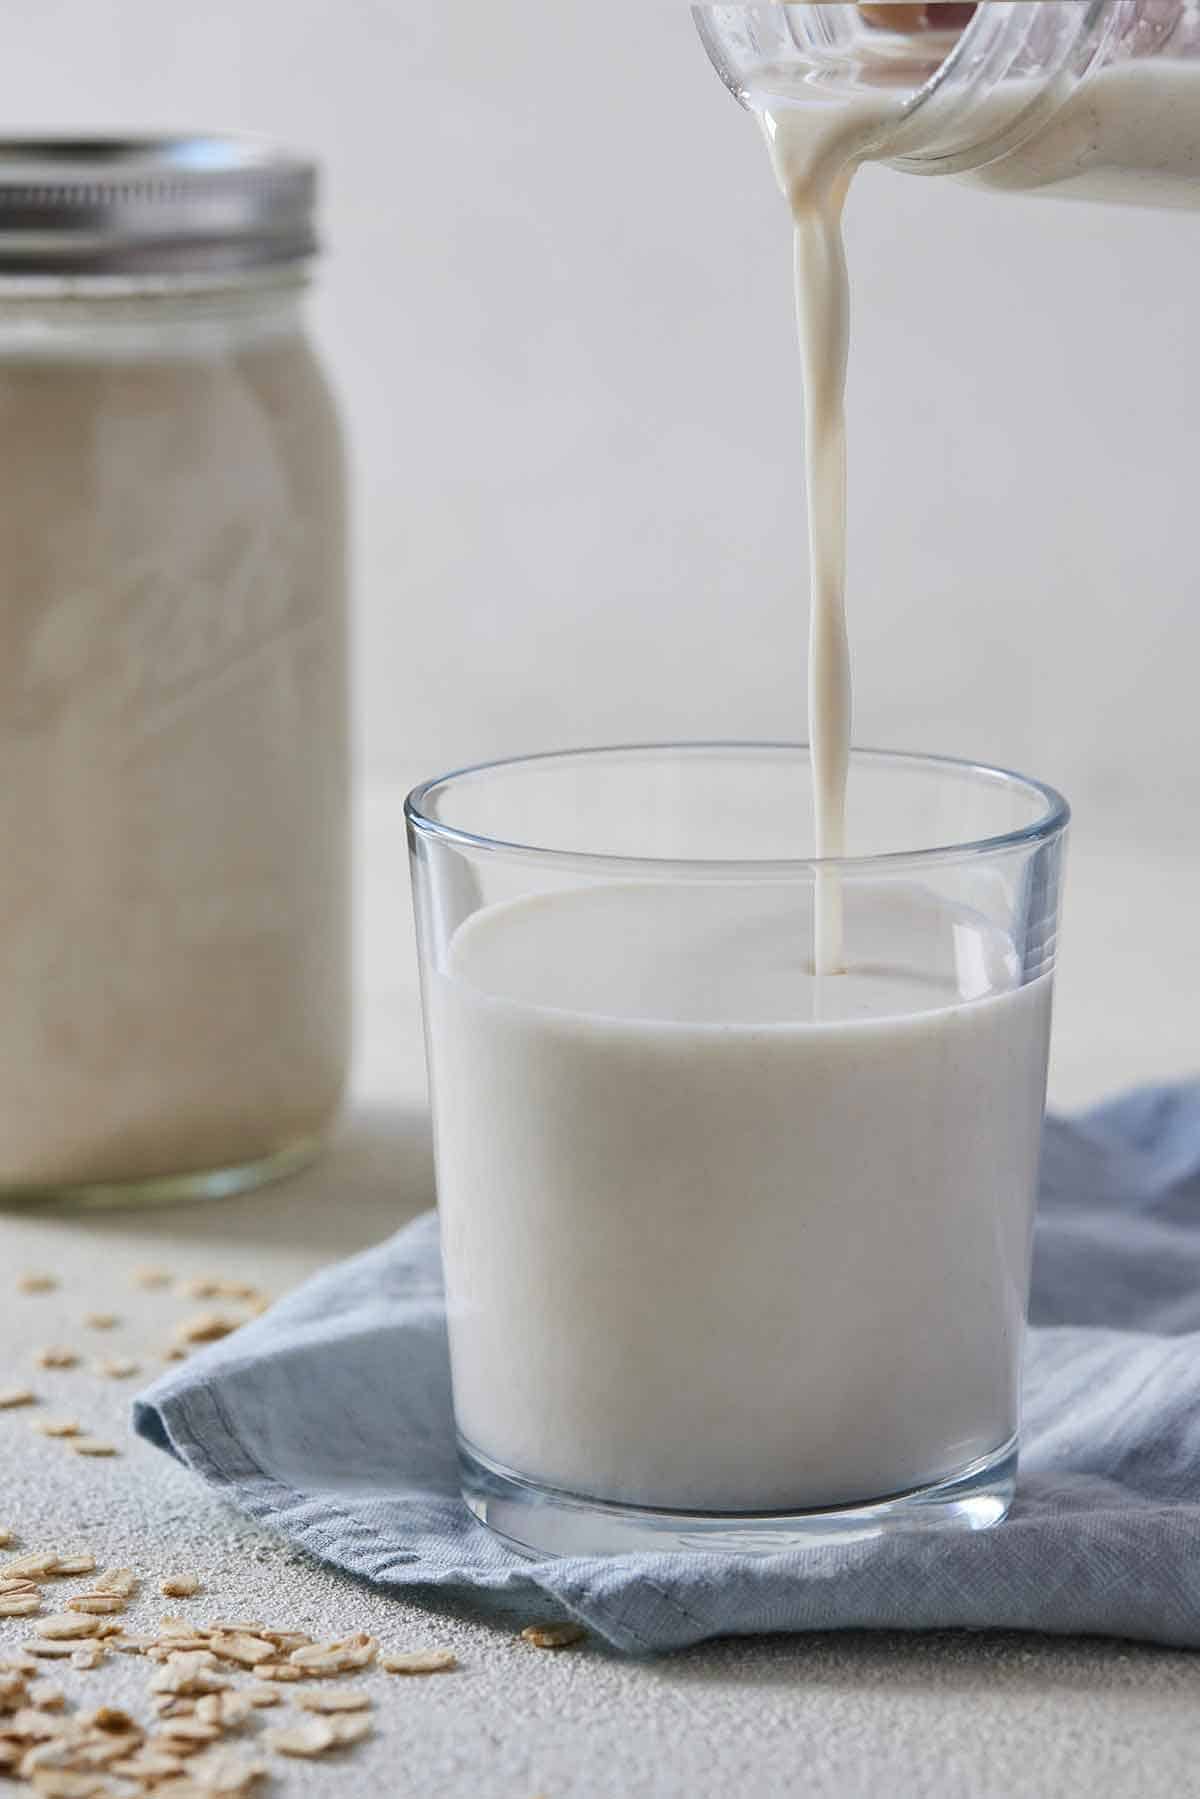
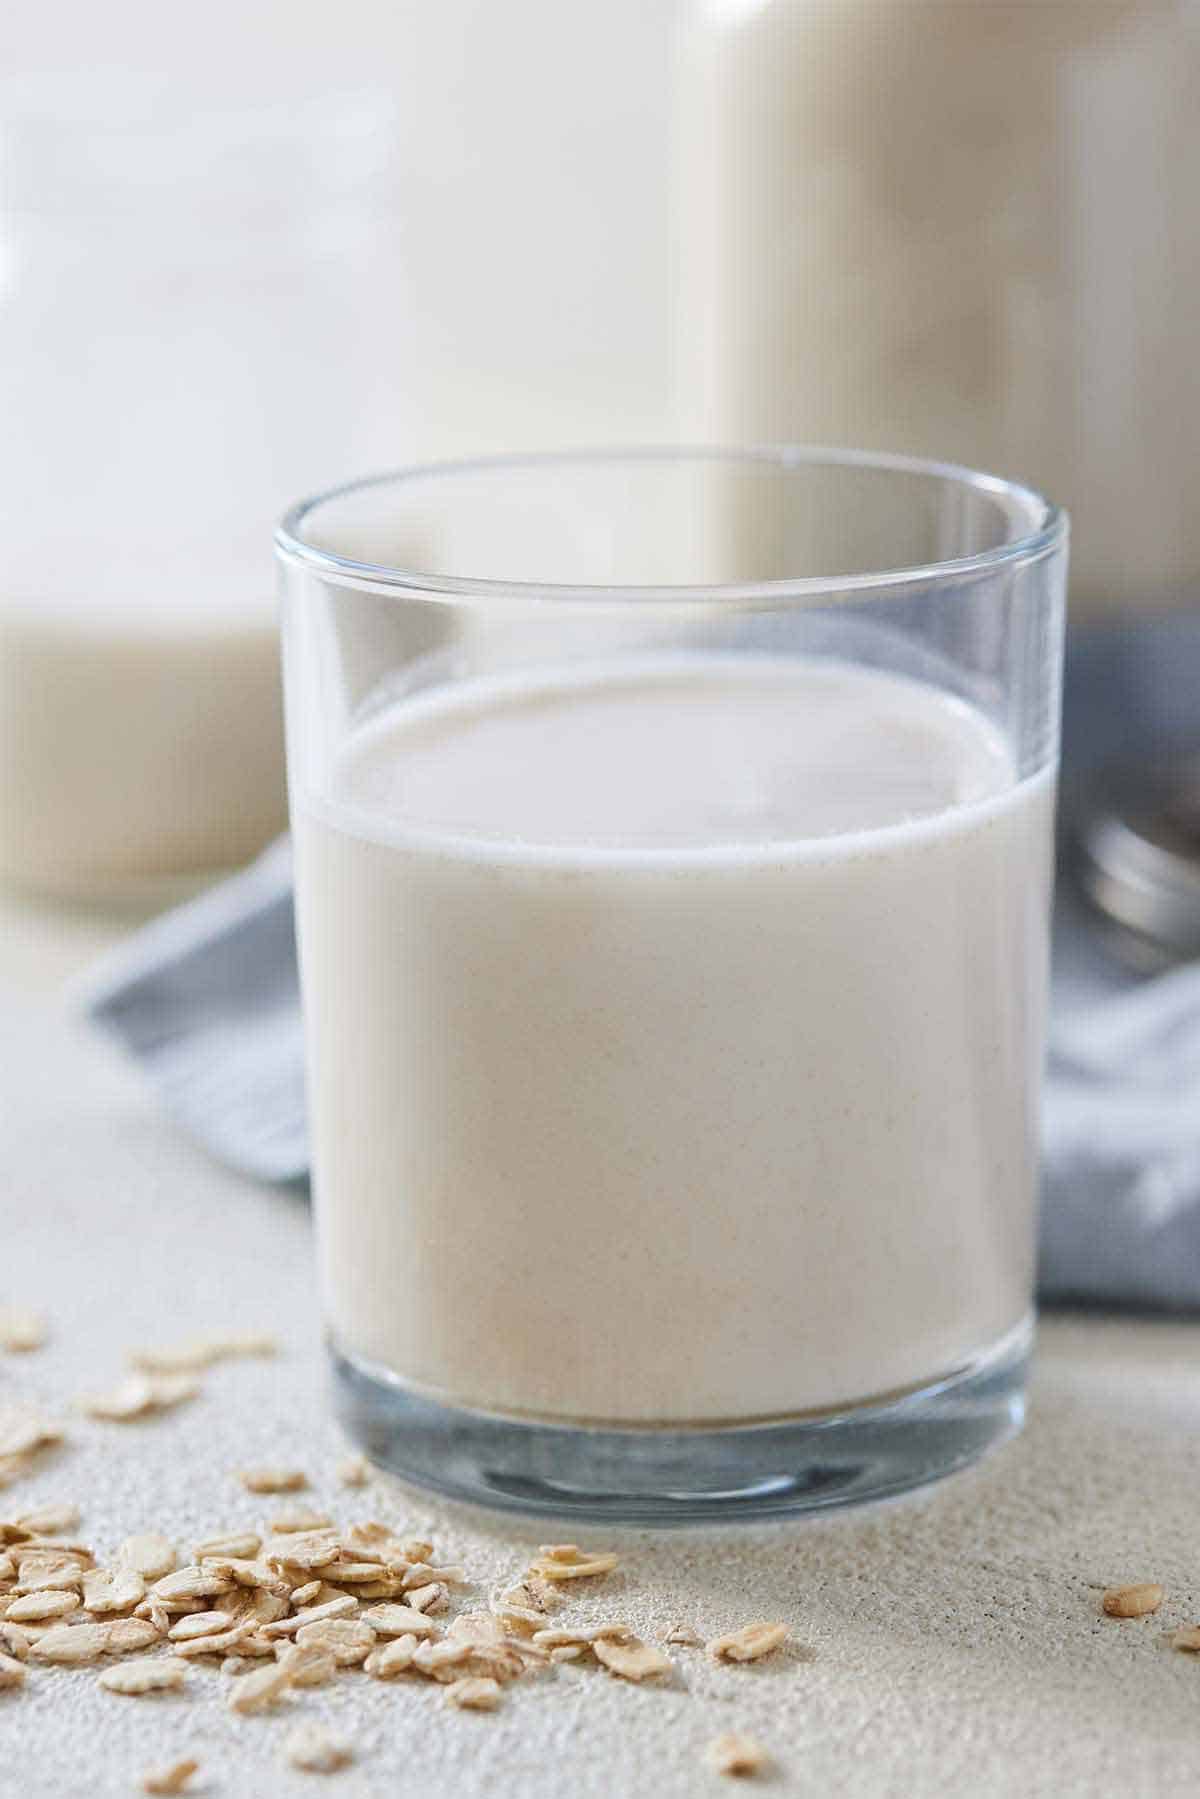
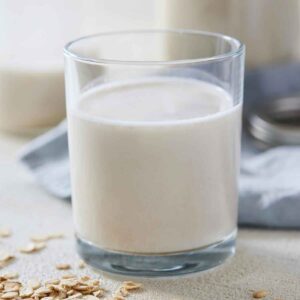
Have you ever wondered how to make oat milk at home? Well, wonder no more! Today I am sharing how I make mine at home. It only takes a couple of minutes to make, and more than likely you already have everything you need in your pantry. This milk is a light and tasty plant-based, dairy-free milk perfect for those who have a nut allergy.
You can use this DIY oat milk on its own, in your coffee, or as part of a recipe. Either way, you’re going to love how simple it is to make. If you’re looking for more plant-based recipes to incorporate into your diet, you should try my Black Bean Burgers or Vegetarian Enchiladas.
Key Ingredients You Need
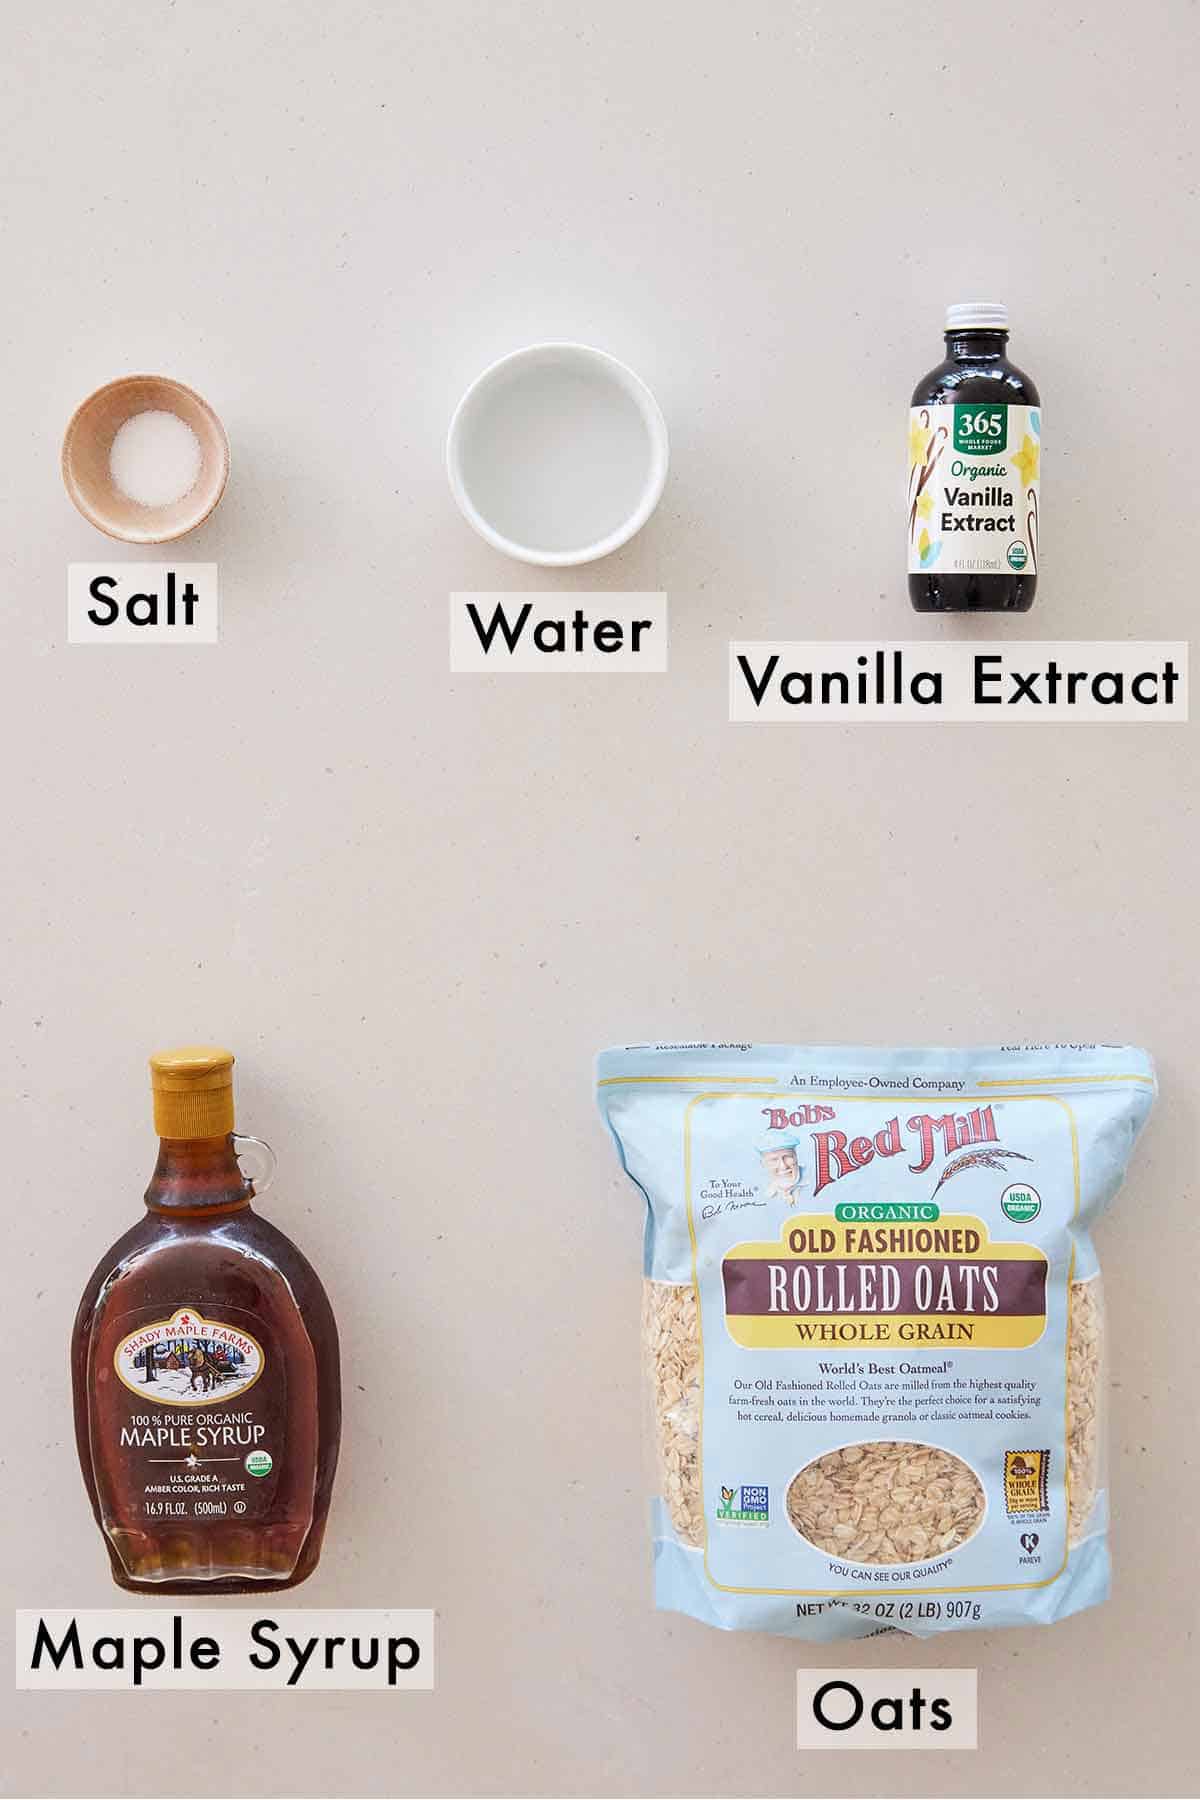
- Rolled oats — I do not recommend trying to make this recipe with quick oats or steel-cut oats. Quick oats are too processed and will lead to the milk feel slimy, whereas the steel-cut oats aren’t processed enough, so it’ll be challenging to break down into a liquid form without over blending.
- Maple syrup — I recommend using pure organic maple syrup to sweeten the milk. Pancake syrup, which may seem like maple syrup at first glance, is not the same and is made of corn syrup and artificial maple extract.
How to Make Oat Milk
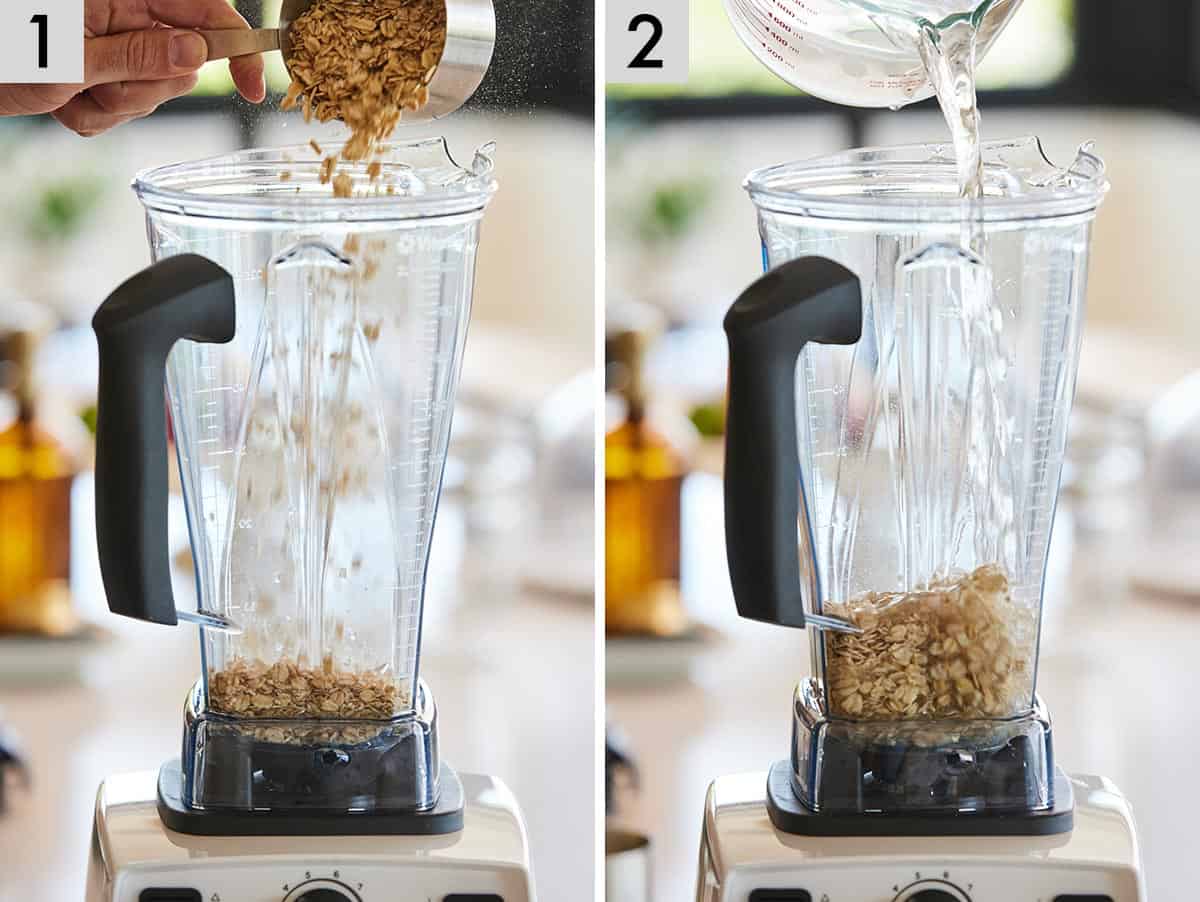
Step 1: Add the rolled oats into the blender.
Step 2: Add all the rest of the ingredients into a blender.
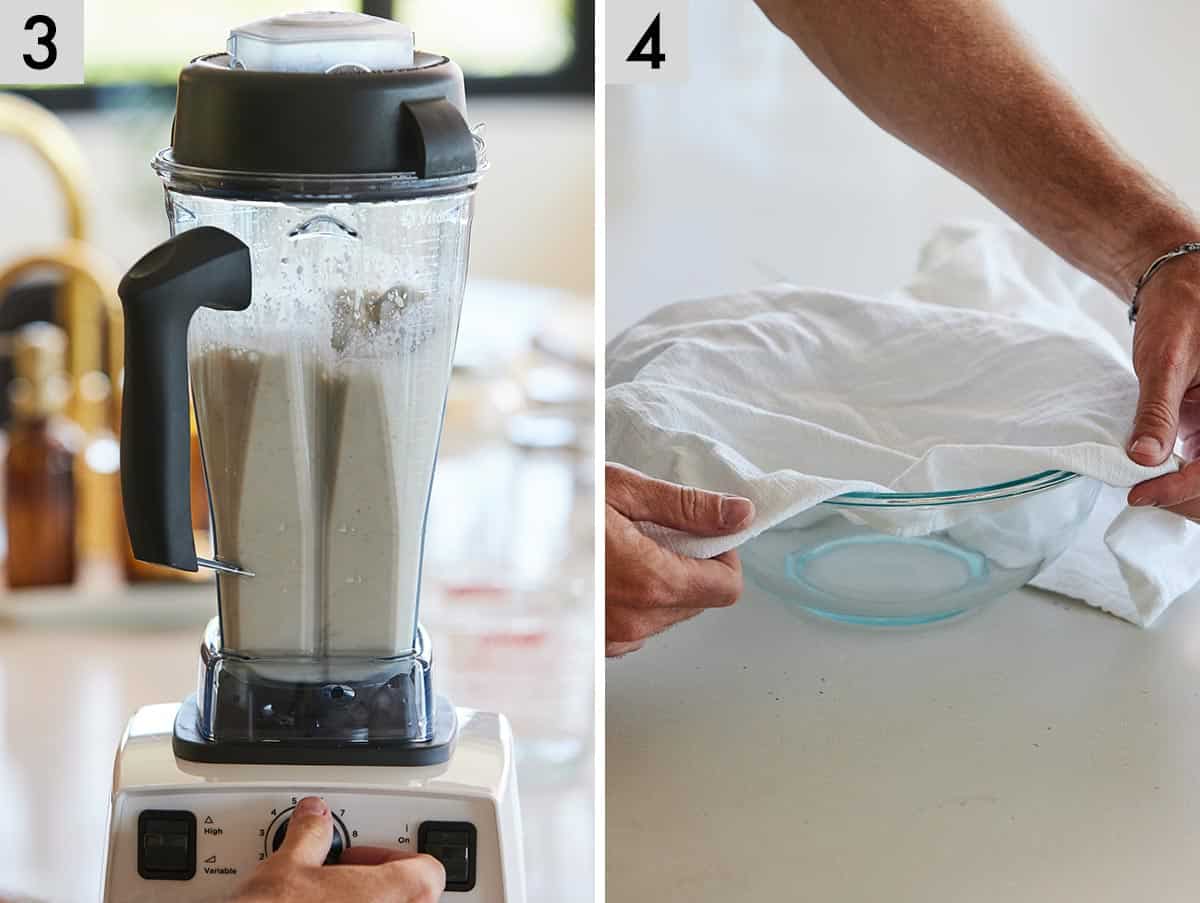
Step 3: Blend the mixture for approximately 30 seconds.
Step 4: Cover a large mixing bowl with a thin cloth.
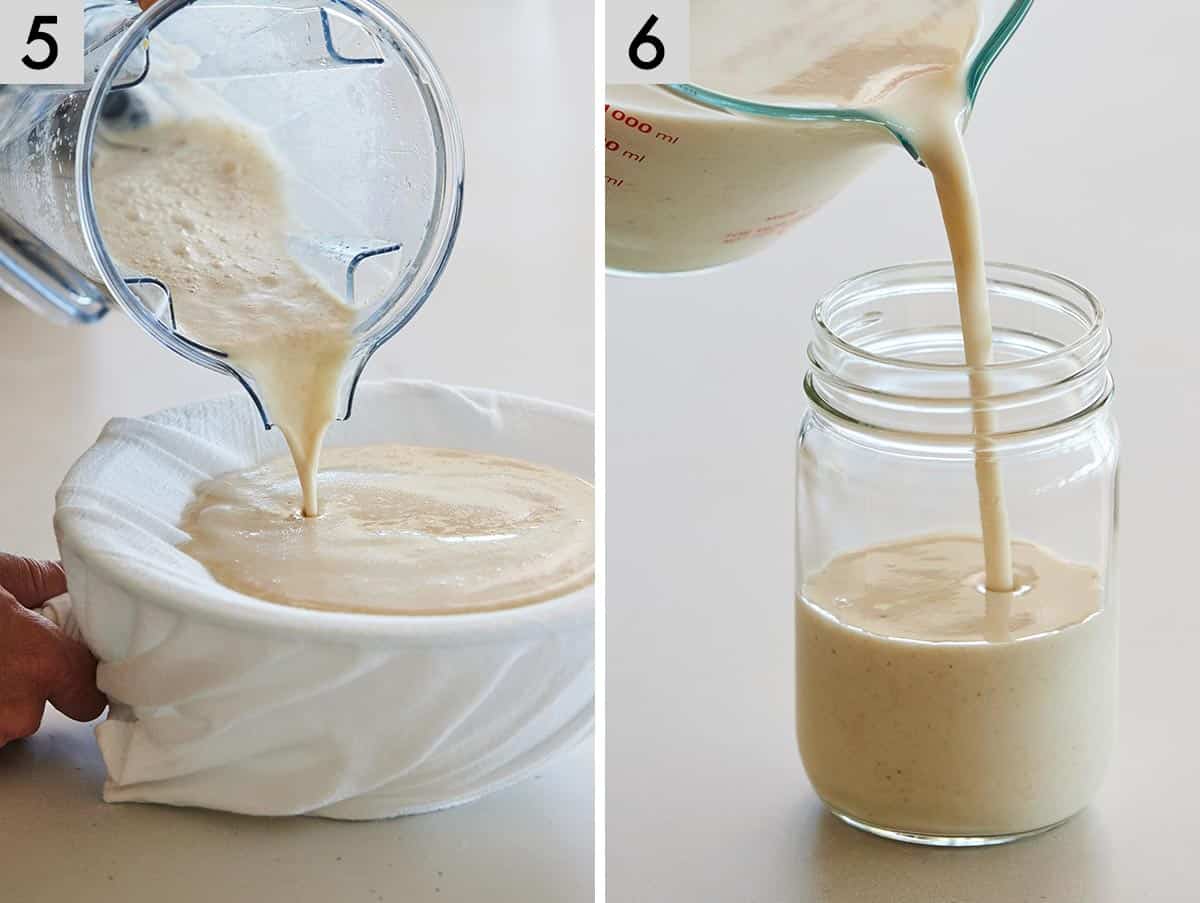
Step 5: Pour in the blended mixture through the cloth to strain. You can also use a fine-mesh sieve to strain. You can repeat and strain more than once to ensure an extra smooth texture. Discard the remaining oat remnants.
Step 6: Transfer the milk into mason jars or a sealed container and refrigerate. Shake well before serving.
Tips For This Recipe
- Avoid over blending the mixture too fine or it will make the milk slimy.
- I recommend using cold filtered water. I find warm water can contribute to causing the liquid to be slimy as well.
- When straining the mixture, I do not recommend squeezing the liquid. When you apply pressure, it causes the leftover rolled oats to make the liquid slimy. You can always run the liquid through the strainer two or three times to make it super smooth.
- Turn this into chocolate milk by adding up to a tablespoon of cocoa powder to the blender.
- If you do not have maple syrup, you can use Medjool dates to sweeten the drink as well.
- While the ingredients are all naturally gluten-free, I recommend using certified gluten-free oats to ensure that the milk is gluten-free.
- While the salt is optional, I find that it helps enhance the flavor.
Frequently Asked Questions
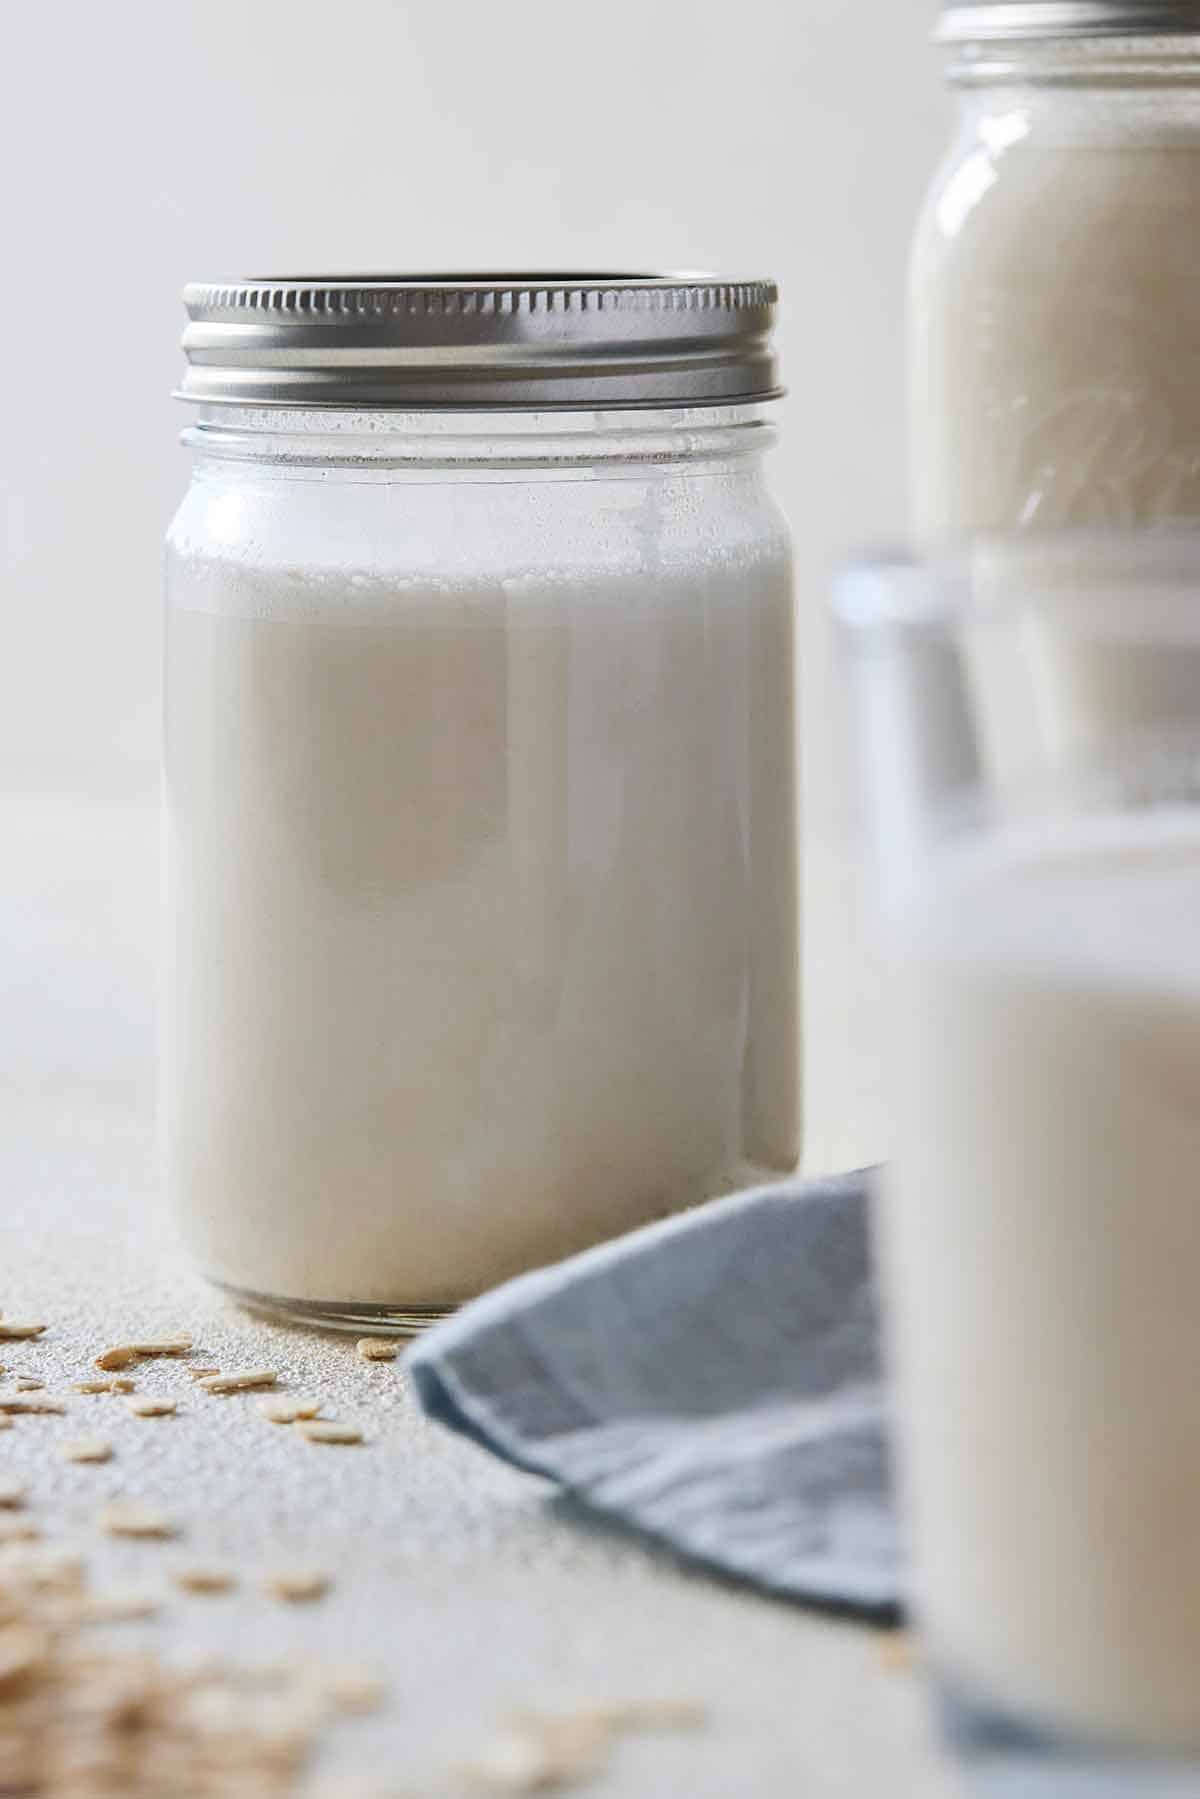
Since there are no stabilizers or emulsifiers in this homemade version of milk, it will only last for a week. You might see separation happening in the milk while it’s in the fridge, but all you have to do is shake it to combine before serving. Luckily it only takes a couple of minutes to make, so there’s no need to make more than a week’s worth at once. Be sure to use an airtight container for storage to maximize freshness. I like to use a mason jar.
I do not recommend soaking the rolled oats ahead of time. When you soak rolled oats, you activate the enzyme that makes them stick together, like in overnight oats. Simply add your rolled oats directly into the blender.
You may encounter some difficulties in frothing this as there isn’t any fat in it. There needs to be a minimum of 5% fat to get a thick and stable foam. Also, when heated up, the liquid may thicken, as that is what happens when you heat oats for oatmeal.
While you can simply compost the oat pulp, you can also add it to smoothies, baked foods, granola, or even cookies!
If you’ve tried this Oat Milk Recipe, then don’t forget to leave me a 5 star rating and let me know how it went in the comments below!
How to Make Oat Milk
Ingredients
- 1 cup rolled oats
- 4 cups cold water
- ½ tbsp maple syrup or to taste
- ½ tsp vanilla extract
- 1 pinch of sea salt approx ⅛ tsp
Instructions
- Add all ingredients into a blender and blend until mixture is pulverized (approx 30 sec).
- Cover a large mixing bowl with a thin cloth and pour in blended mixture through the cloth to strain. You can also use a fine mesh sieve to strain. Optional to repeat and strain more than once to ensure an extra smooth texture. Discard the remaining oat remnants.
- Transfer oat milk into mason jars or a sealed container and refrigerate (will keep up to a week). Shake well before serving.
Video
Notes
- Avoid over blending the mixture too fine or it will make the milk slimy.
- I recommend using cold filtered water. I find warm water can contribute to causing the liquid to be slimy as well.
- When straining the mixture, I do not recommend squeezing the liquid. When you apply pressure, it causes the leftover rolled oats to make the liquid slimy. You can always run the liquid through the strainer two or three times to make it super smooth.
- Turn this into chocolate milk by adding up to a tablespoon of cocoa powder to the blender.
- If you do not have maple syrup, you can use Medjool dates to sweeten the drink as well.
- While the ingredients are all naturally gluten-free, I recommend using certified gluten-free oats to ensure that the milk is gluten-free.
- While the salt is optional, I find that it helps enhances the flavor.







Hey there. Question for you. The recipe worked, but I found it to be pretty watery. I've been using Planet Oat's extra creamy brand, and I prefer the creamier texture. Any thoughts on how to achieve that at home? Cashews maybe?
Hi Kim- Yes you could add softened cashews to the blender and that would definitely give you a creamy texture. What kind of oats did you use? You could also try using a little less water. Hope this helps!