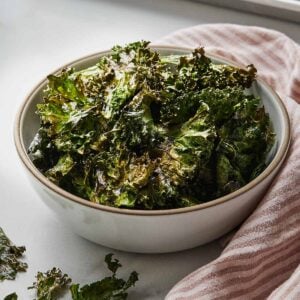
Have you ever had kale chips? They were so trendy that they became a staple in the chip aisle at the store. However, it can get pricey purchasing these at the store and after they’ve been processed to make them shelf stable, you lose a lot of the healthy benefits.
So today, I’m sharing with you how I like to make my homemade kale chips so you can save your money and reap all the nutritional benefits of eating kale. This is a fail-proof recipe that anyone can make, even your kids!
Key Ingredients You Need
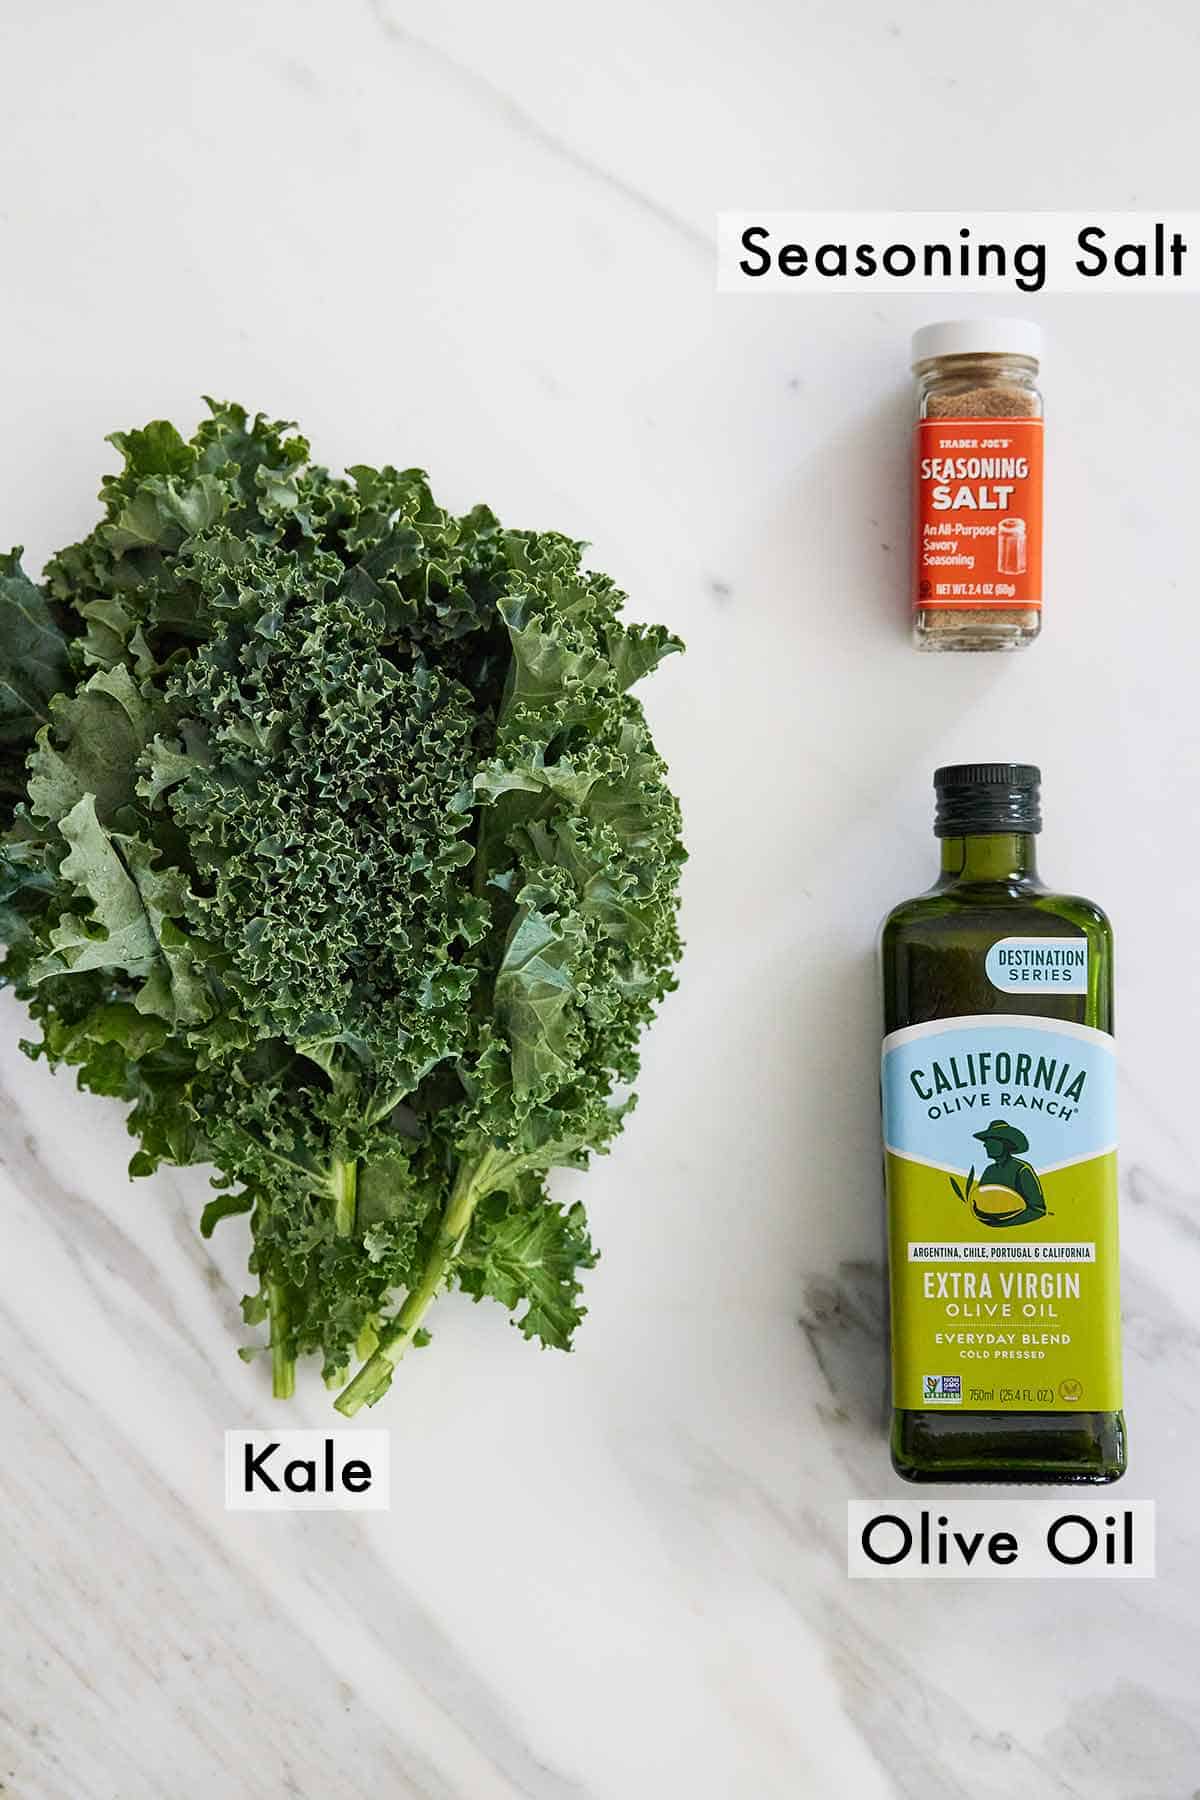
- Kale — Look for kale that’s moist, crisp, and unwilted. If the bunch looks soggy, yellowed, and/or has blemished or tiny holes on them, skip it.
- Olive Oil — No fancy olive oil needed, just use your basic everyday cooking olive oil.
- Seasoning Salt — A little bit of salt goes a long way.
How to Make Kale Chips
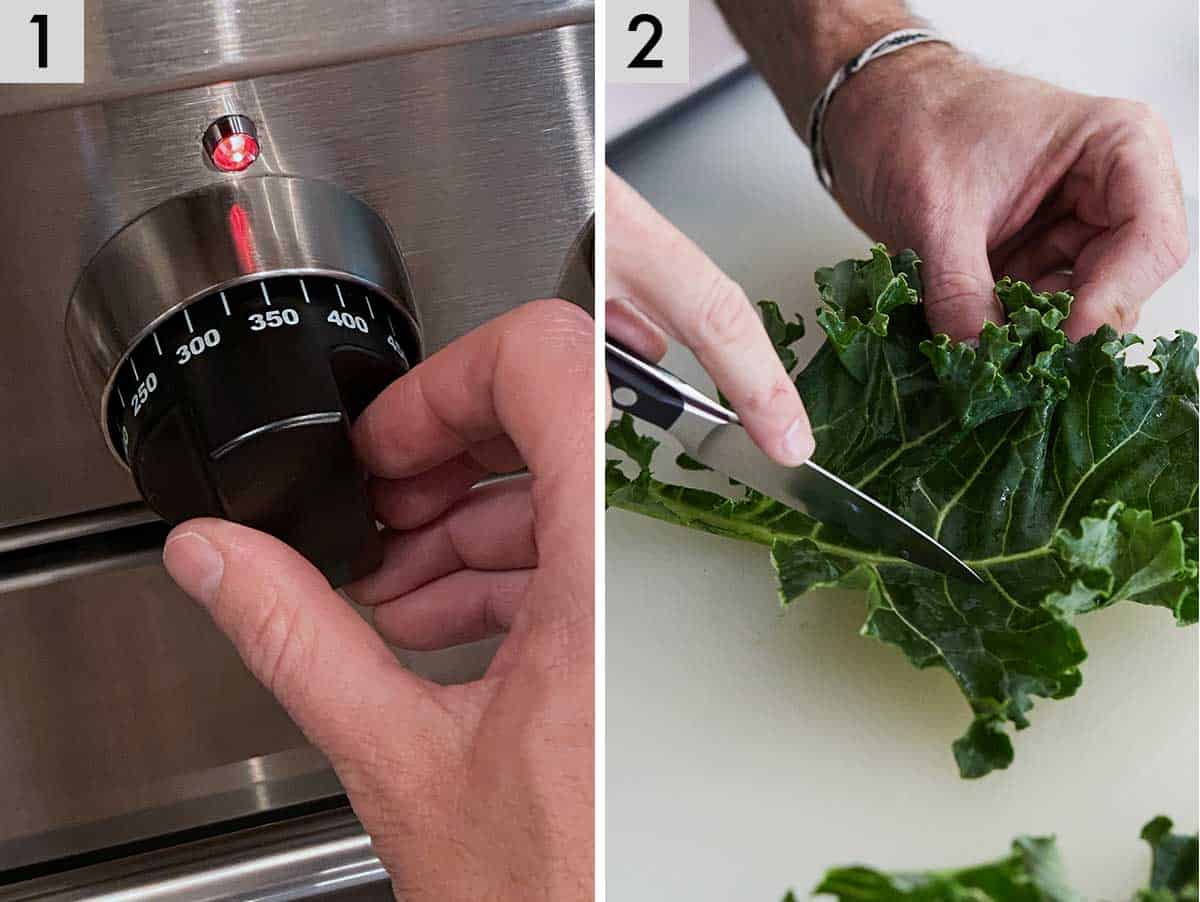
Step 1: Preheat the oven to 350°F.
Step 2: De-stem kale and use your hands to tear apart leaves into bite-sized pieces.
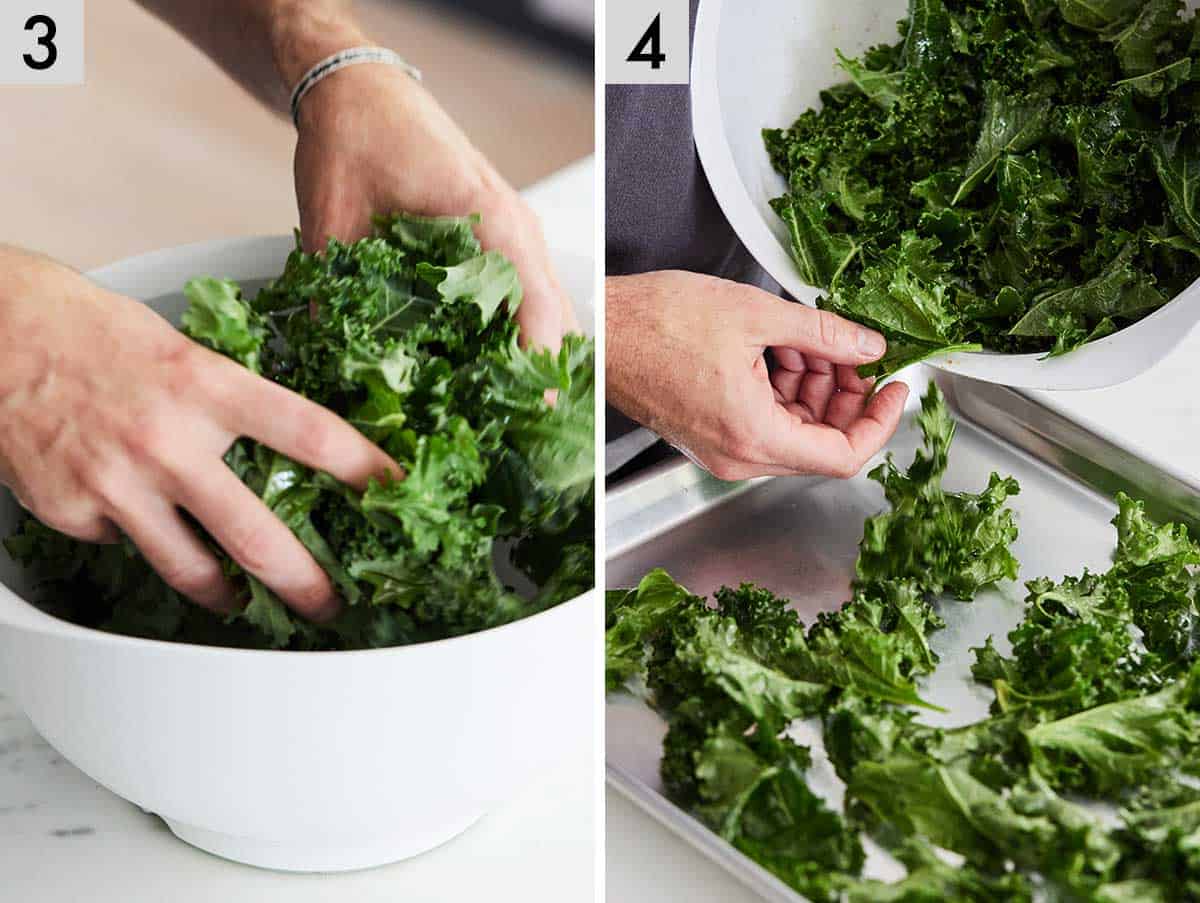
Step 3: In a large mixing bowl, add in the kale pieces and olive oil and toss making sure all leaves are coated with oil.
Step 4: Next add in seasoned salt and continue tossing together until everything is coated evenly.
Step 5: Spread out kale on a baking pan (don't overcrowd).
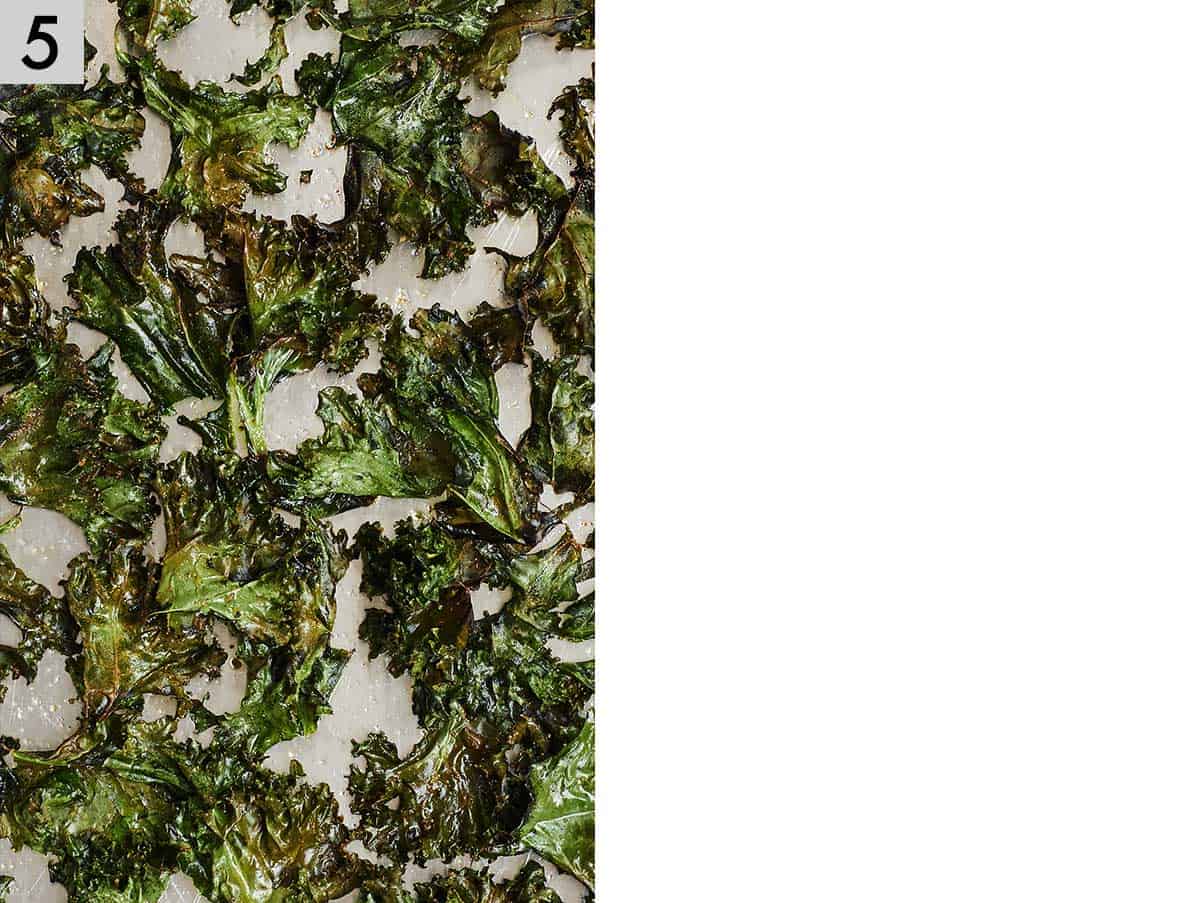
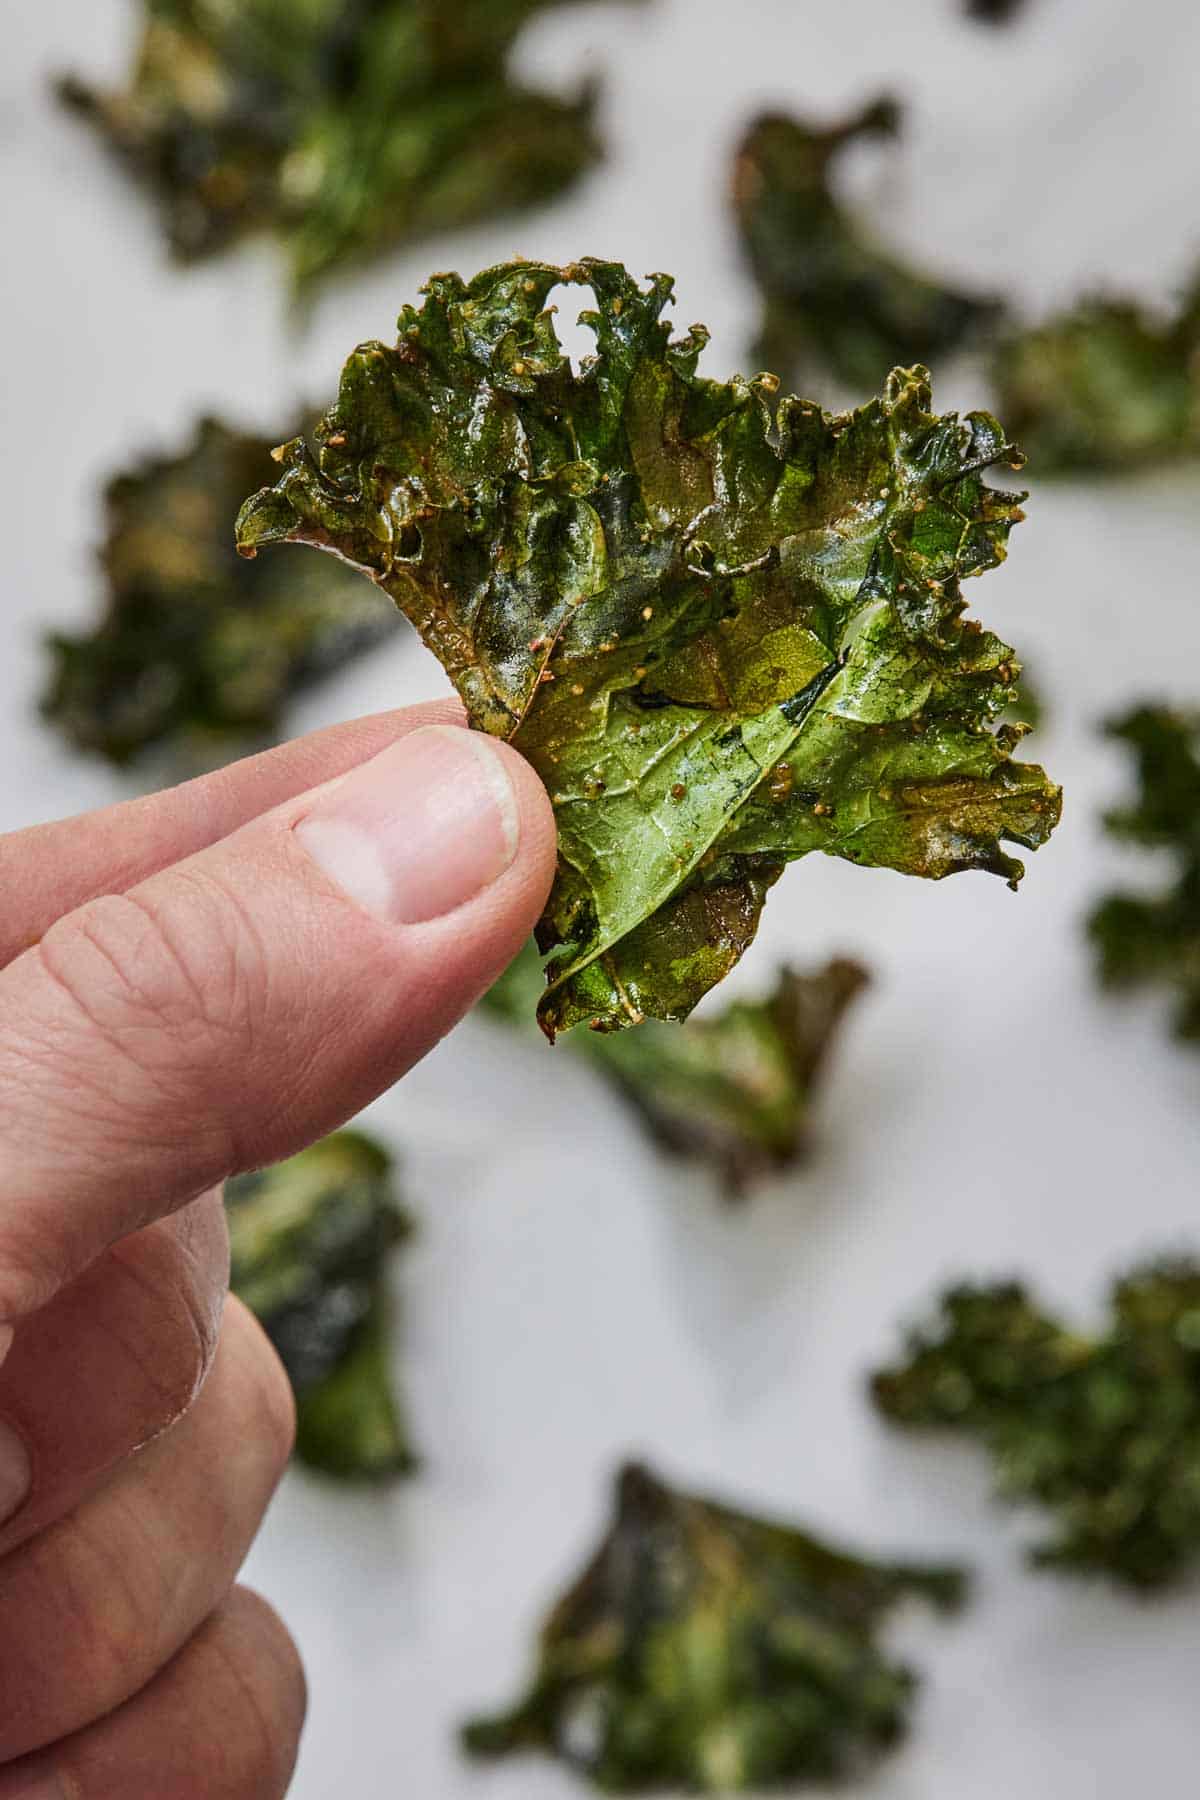
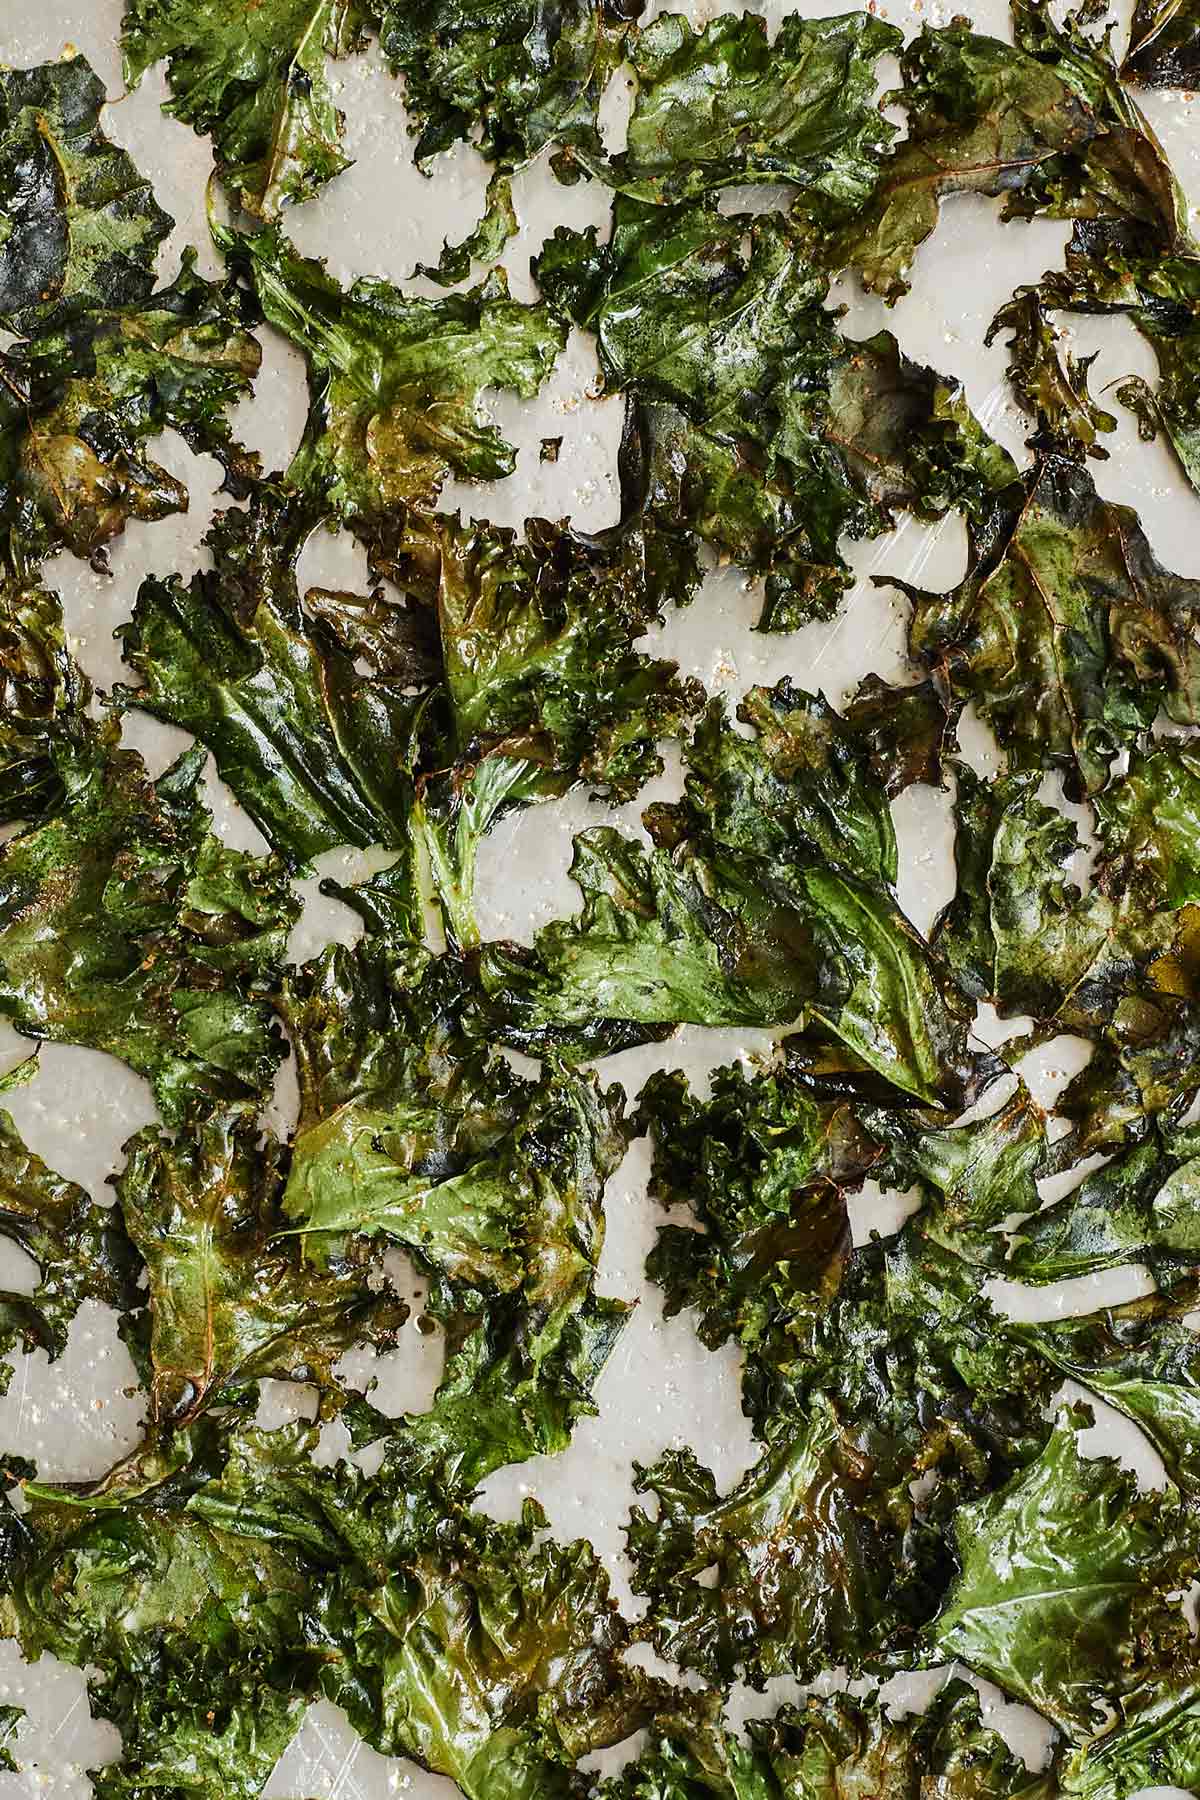
Step 6: Bake in the oven for 10-15 minutes until the edges start to turn brown and toasted. Keep an eye on them to avoid burning.
Variations
- Want to give these a spicy kick? Add a pinch of cayenne pepper or chili powder when seasoning.
- Bump up the nutritional value and add a nutty taste to them by adding in nutritional yeast.
- Make it savory by seasoning with garlic powder and then topping them off with grated parmesan straight out of the oven.
- Swap out the salt for some lemon pepper for a little bit of a citrus peppery kick.
Tips for This Recipe
- Try not to overlap your leaves when baking. If they overlap, it traps the steam between them and the chips get soggy instead of crispy. If you have too much on your sheet pan, bake them in two or three batches instead.
- Make sure your kale is dry to start. After washing, pat it dry or use a salad spinner to make sure your leaves are dry before you start working with it. When the leaves are damp or wet, it makes it difficult to be coated with oil and seasoning.
- There are many different types of kale on the market: Curly, Tuscan, Dinosaur, and more. They all taste the same once it’s turned into chips so you can use whatever kale is sold at your local grocery store.
- To de-stem the leaves, simply cut the leaves as close to the stem as possible and remove it. The stems tend to be tough, chewy, and fibrous making it not ideal to make chips with.
- Feel free to double or triple this recipe.
- Don’t add extra oil to this. A little bit of oil goes a long way. You might think adding extra oil will make the chips crisp up faster but it ends up adding extra moisture to the leaves, making it harder to crisp up in the oven.
Frequently Asked Questions
Kale is loaded with antioxidants on top of being a great source of fiber, iron, potassium, and some B vitamins, making them a delicious and healthy snack.
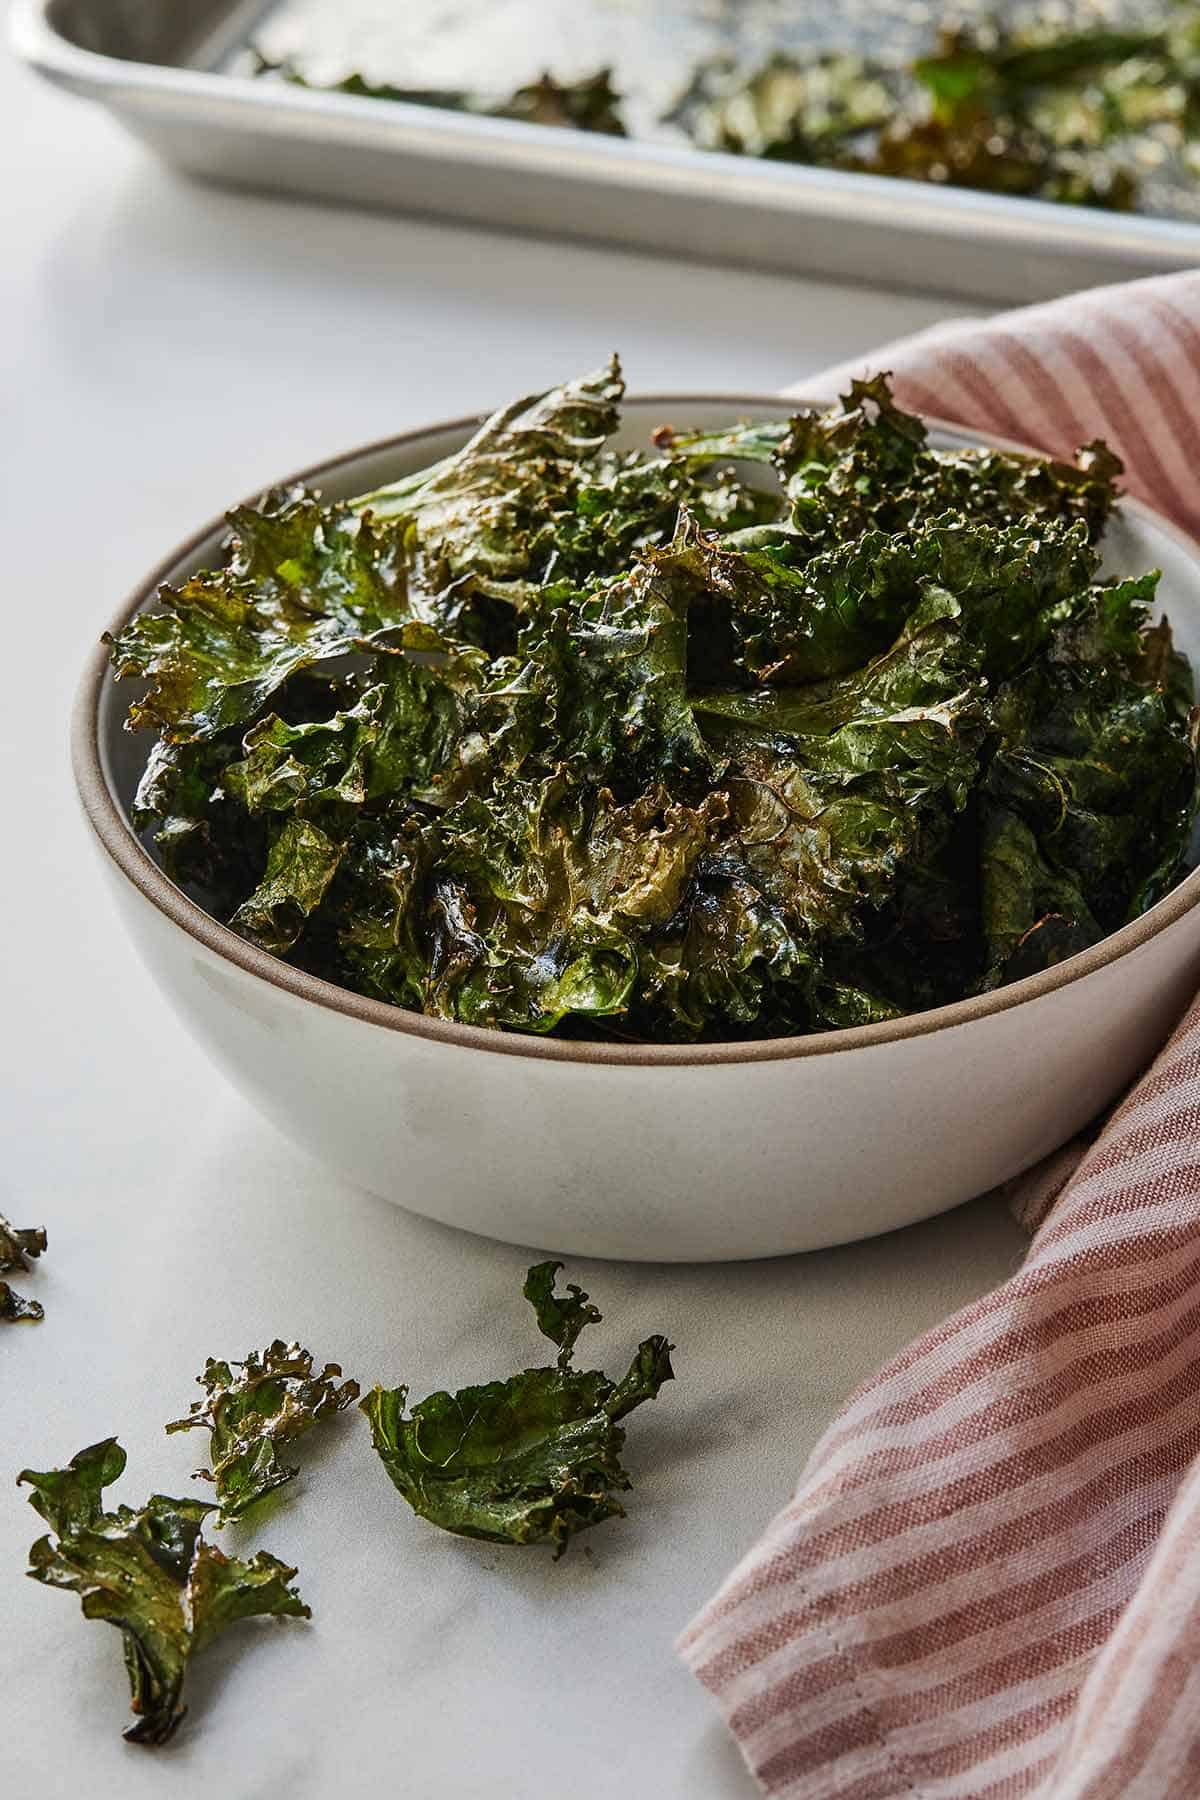
These are best eaten as soon as possible and we rarely have leftovers. But if you make too large of a batch, store it in an airtight container to keep it crispy and finish as soon as possible.
Leftover chips can lose their crispness over time. When that happens, simply put them in the oven and heat it up until crispy again.
It really depends on the air fryer you have. Due to the size of most air fryers, it’ll take multiple batches to make the chips compared to a large sheet pan in the oven.
I find kale chips on their own is a great snack that hits the spot. However, if you’d like, you can add a creamy dip with it such as ranch dipping sauce.
Kale stems have a chewy woody texture as they are rather tough which makes it very unpleasant to eat. I don’t recommend keeping them in your kale chips.
If you’ve tried this Recipe then don’t forget to leave me a rating and let me know how it went in the comments below!
Kale Chips
Ingredients
- 1 large bundle curly kale washed, dried
- 2 tbsp olive oil
- 1 tbsp seasoning salt
Instructions
- Preheat oven to 350° F.
- De-stem kale and use your hands to tear a part leaves into bite-sized pieces.
- In a large mixing bowl, add in torn pieces and olive oil and toss making sure all leaves are coated with oil. Seasoned salt and toss together until all the leaves are coated evenly.
- Next add in seasoned salt and continue tossing together until everything is coated evenly.
- Spread out kale on a baking pan (don't overcrowd the pan).
- Bake in oven for 10-15 minutes until edges of the kale start to turn brown and toasted. Keep an eye on them to avoid burning.
Video
Notes
- Try not to overlap your leaves when baking. If they overlaps, it traps the steam between them and the chips get soggy instead of crispy. If you have too much on your sheet pan, bake them in two or three batches instead.
- Make sure your kale is dry to start. After washing, pat it dry or use a salad spinner to make sure your leaves are dry before you start working with it. When the leaves are damp or wet, it makes it difficult to be coated with oil and seasoning.
- There are many different types of kale on the market: Curly, Tuscan, Dinosaur, and more. They all taste the same once it’s turned into chips so you can use whatever kale is sold at your local grocery store.
- To de-stem the leaves, simply cut the leaves as close to the stem as possible and remove it. The stems tend to be tough, chewy, and fibrous making it not ideal to make chips with.
- Feel free to double or triple this recipe.
- Don’t add extra oil to this. A little bit of oil goes a long way. You might think adding extra oil will make the chips crisp up faster but it ends up adding extra moisture to the leaves, making it harder to crisp up in the oven.






Leave a Reply