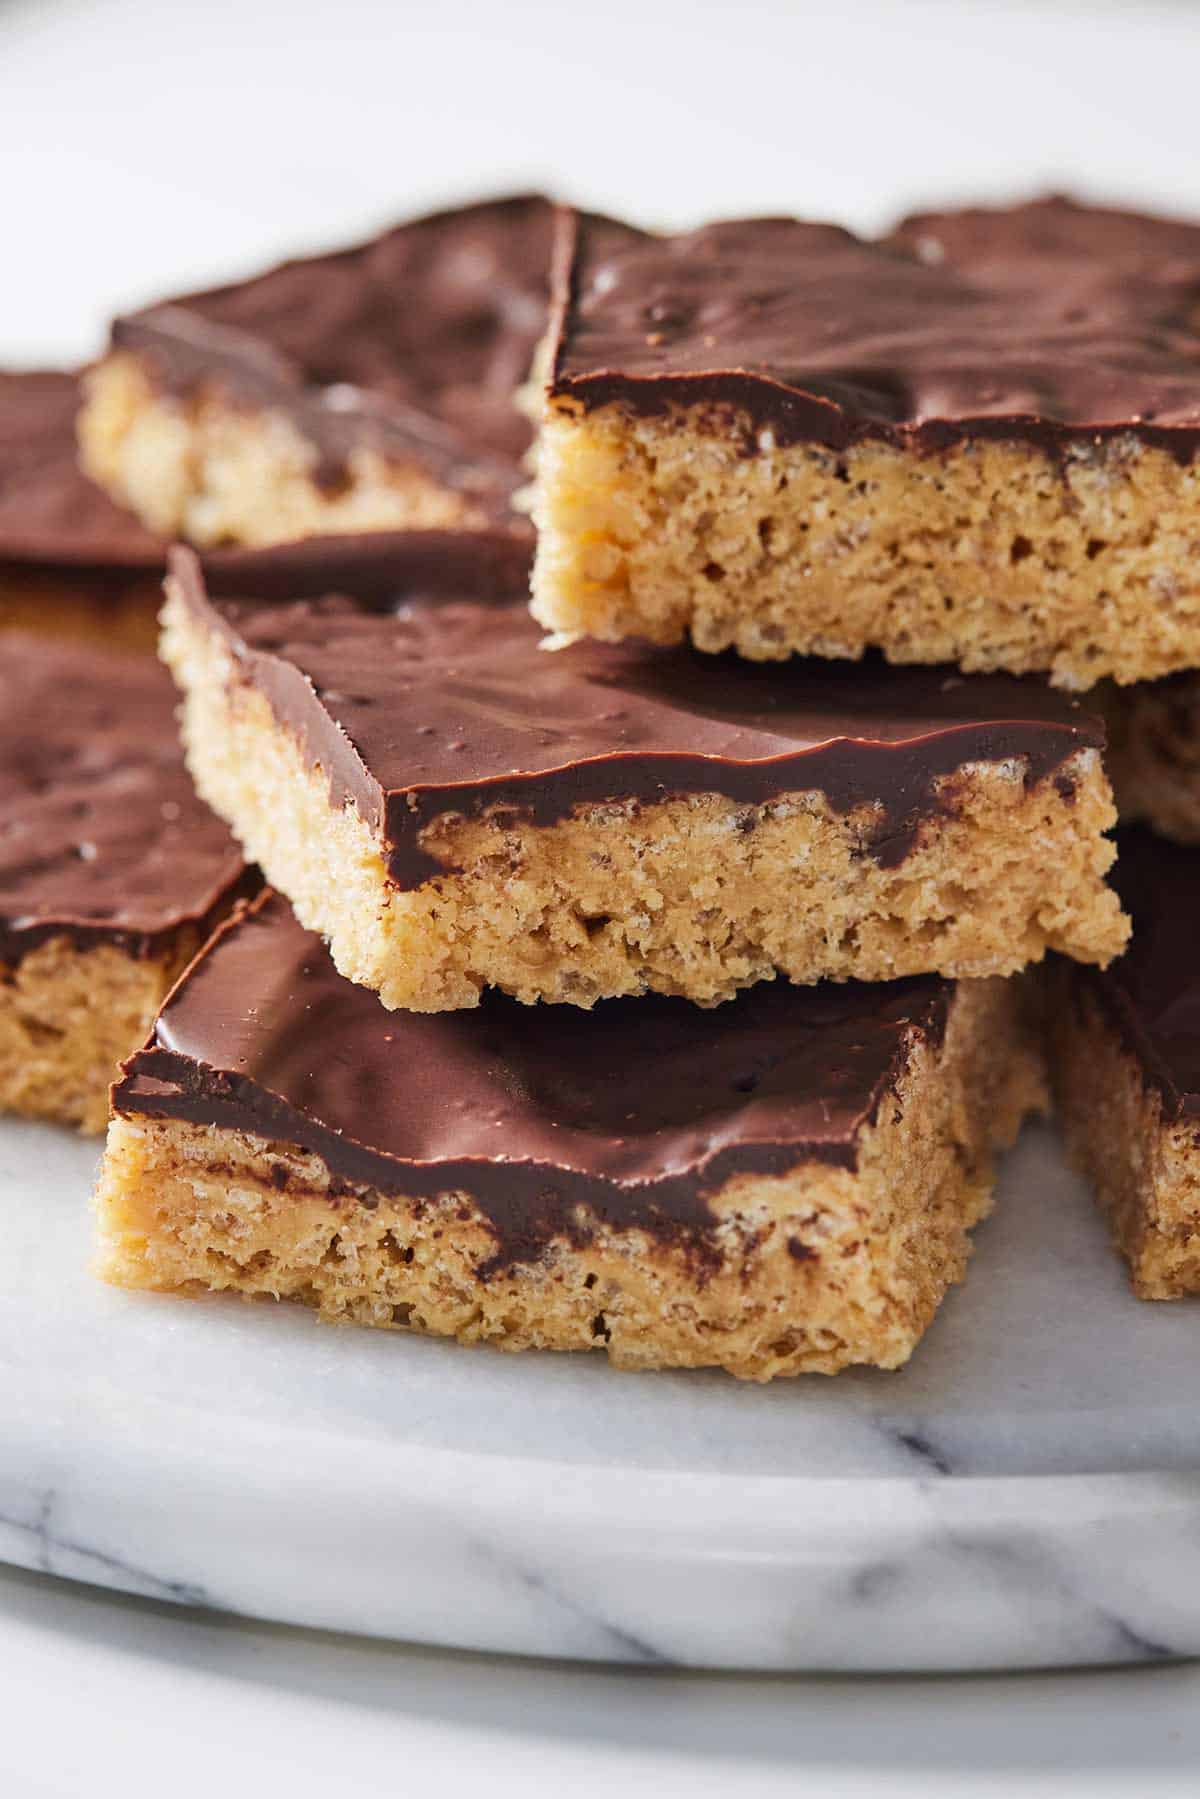


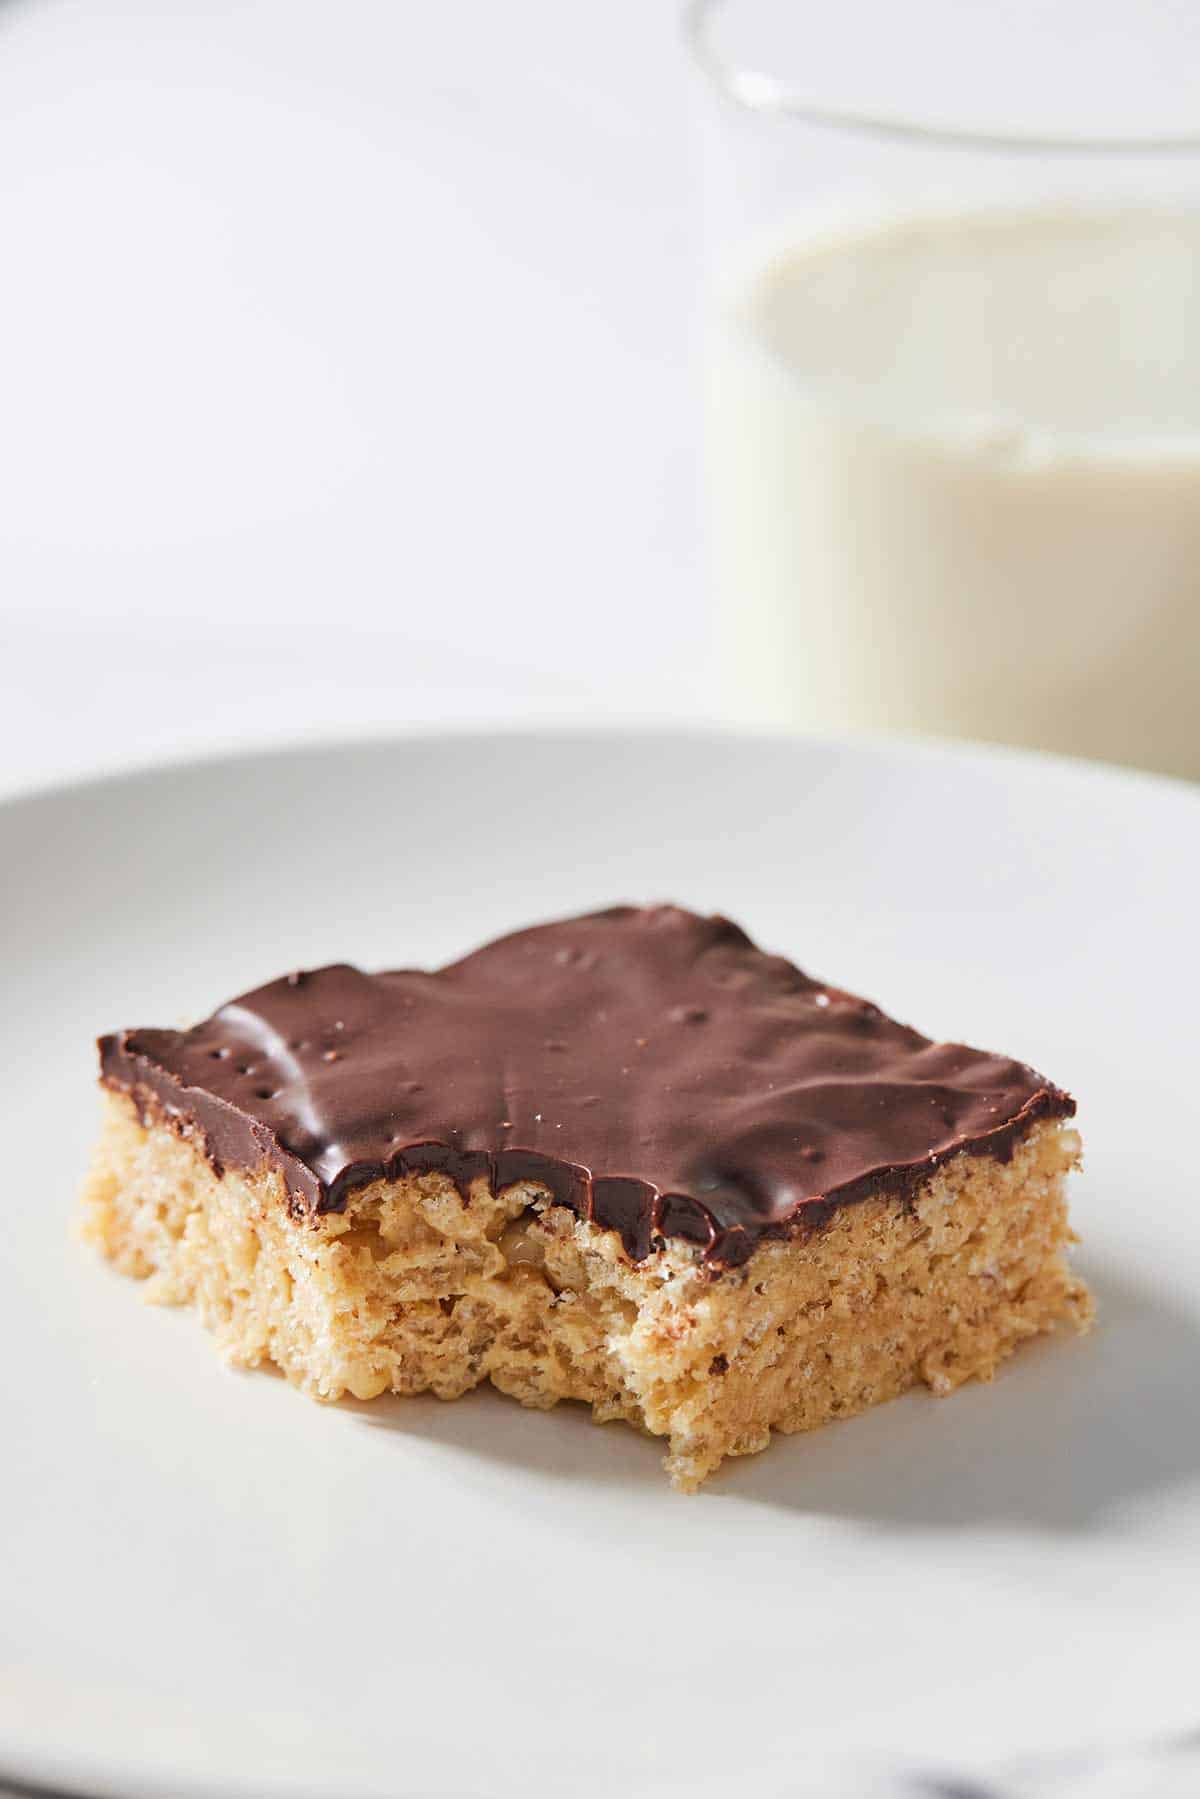
If you’re looking for an easy treat to make then this peanut butter and chocolate rice krispie treat is for you. It brings back so many childhood memories and now as an adult, I’m stepping it up with this twist on a classic. The peanut butter mixed throughout and the chocolate on top makes it feel like an indulgent treat that both kids and adults will enjoy. Whether it’s for an after-school snack or an after-dinner treat, these peanut butter rice krispie bars are perfect for any occasion. For another fun take on a classic, try my super simple chickpea cookie dough.
Key Ingredients You Need
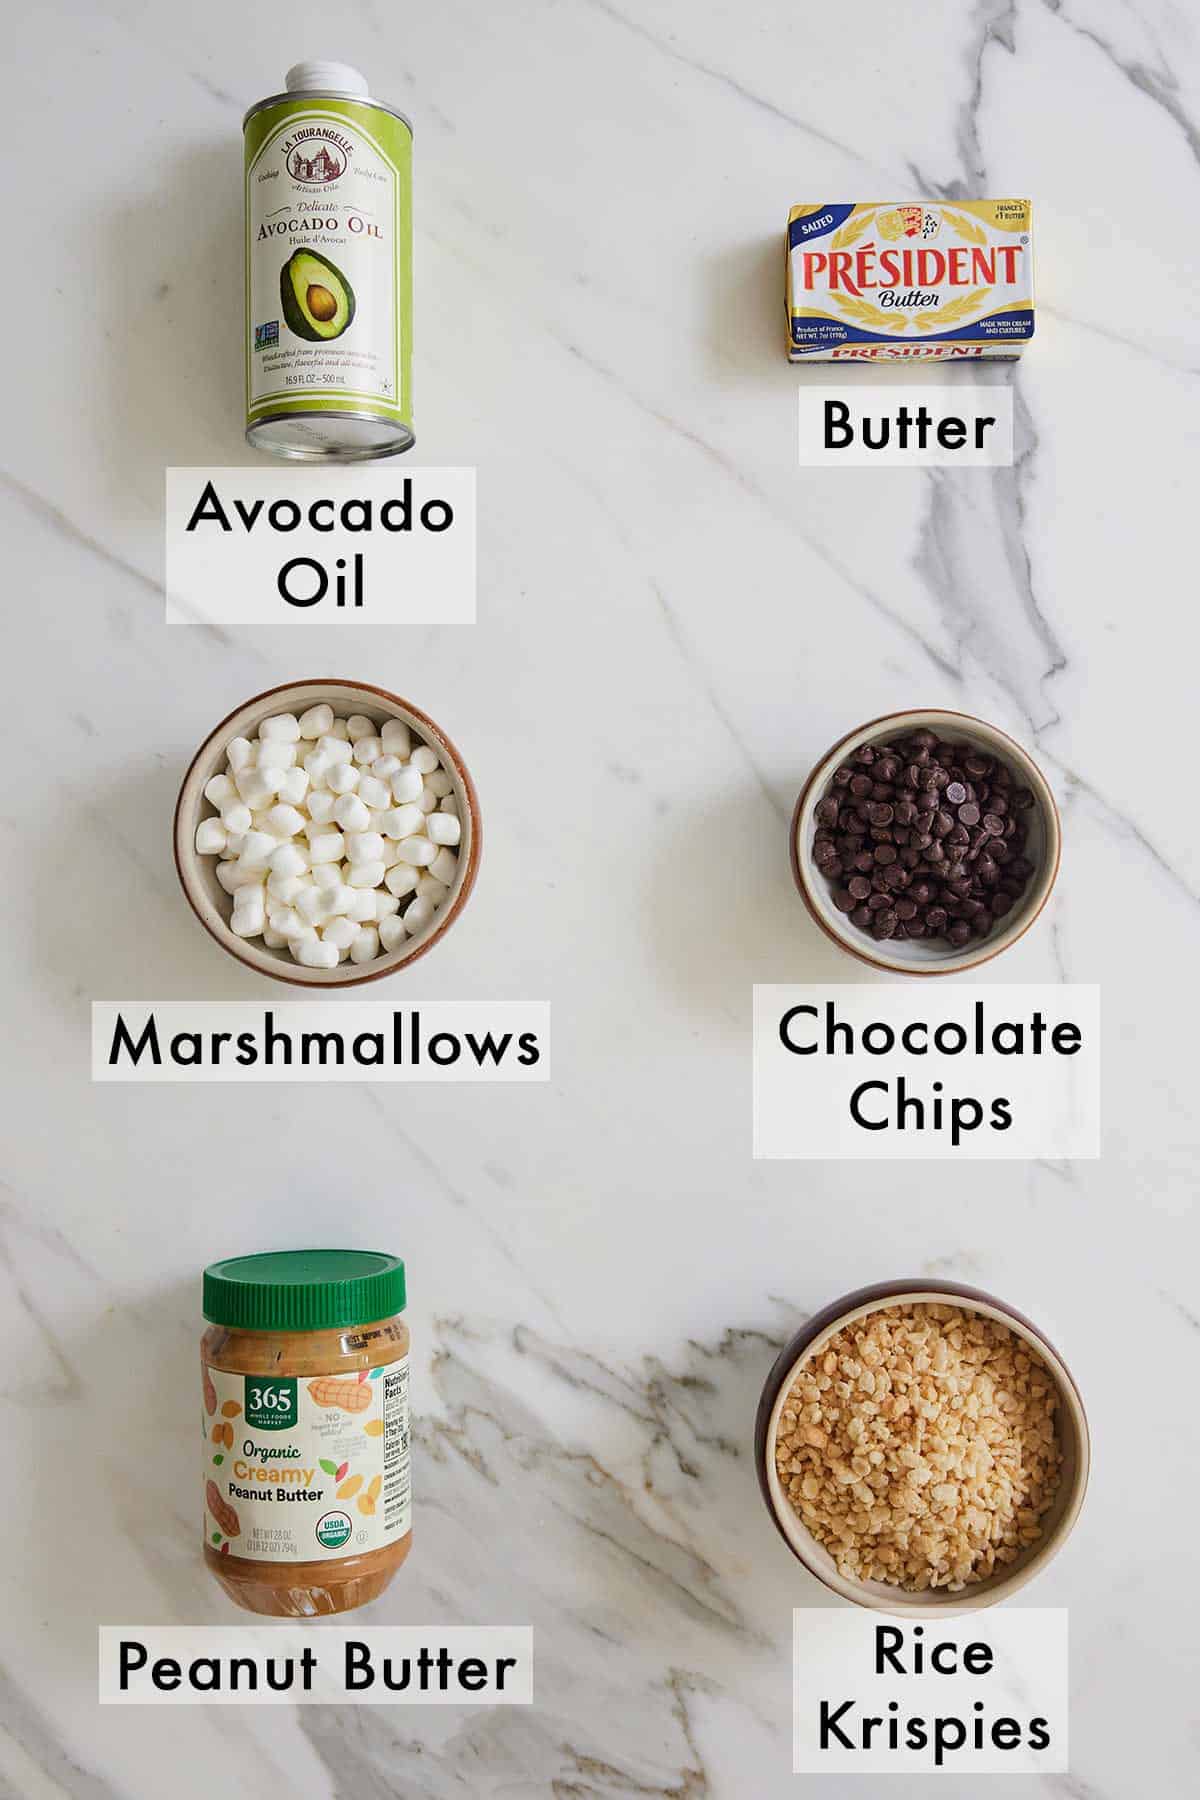
- Mini marshmallows — I recommend using the mini version of marshmallows as they melt more quickly and evenly.
- Peanut butter — be sure to use smooth peanut butter for this krispie treat. If you’re all out of peanut butter, use almond and cashew butter instead.
- Rice Krispies cereal — you can use the regular cereal or the brown rice gluten-free version.
- Chocolate chips — to make the chocolate layer, I melt chocolate chips. If you don’t have any, you can melt roughly chopped chocolate bars instead.
How to Make Peanut Butter Rice Krispie Treats
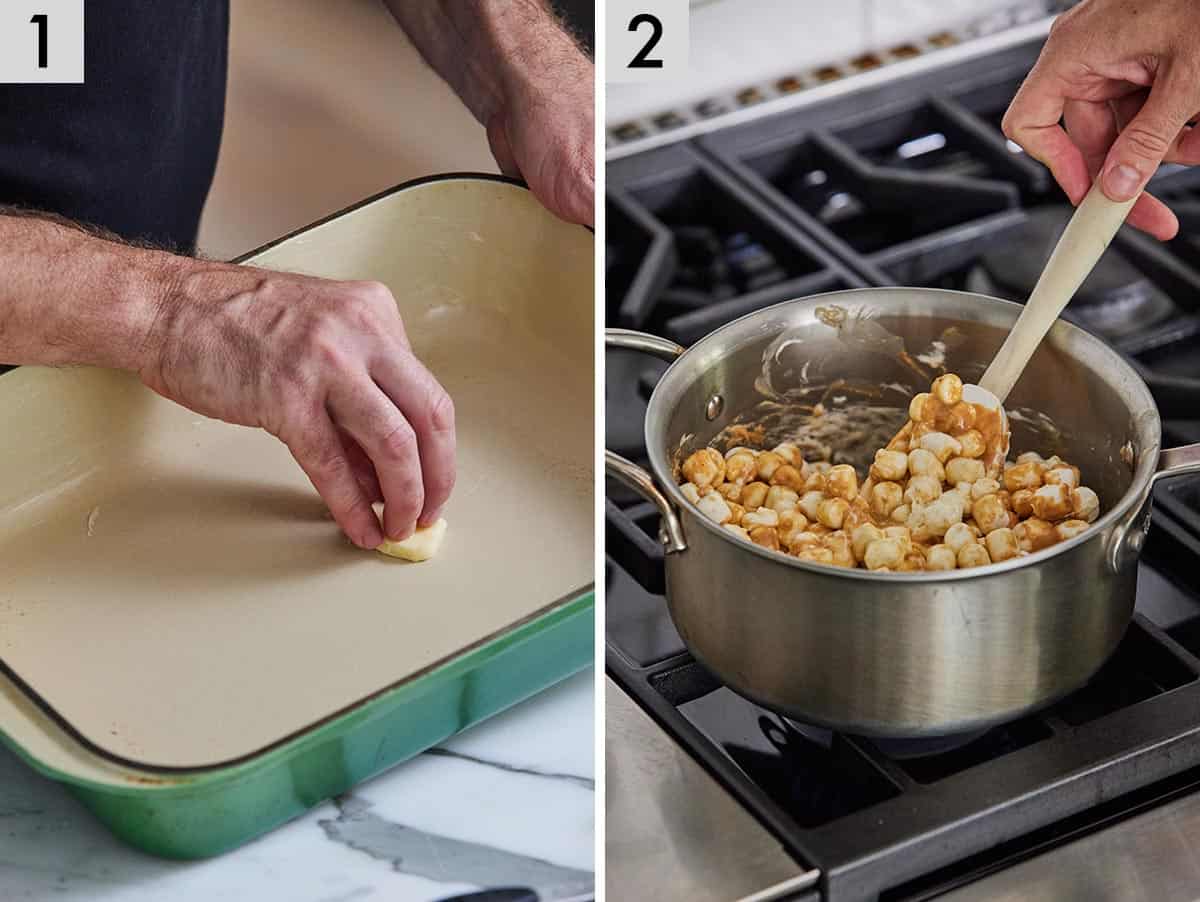
Step 1: Grease a 9 x 12 baking pan with butter or cooking spray.
Step 2: In a large pot heat over low heat melt the butter, marshmallows, and peanut butter while stirring frequently.

Step 3: Stir until the mixture has combined.
Step 4: Once the mixture has become soft and melted, add in the Rice Krispie cereal and mix well until combined.
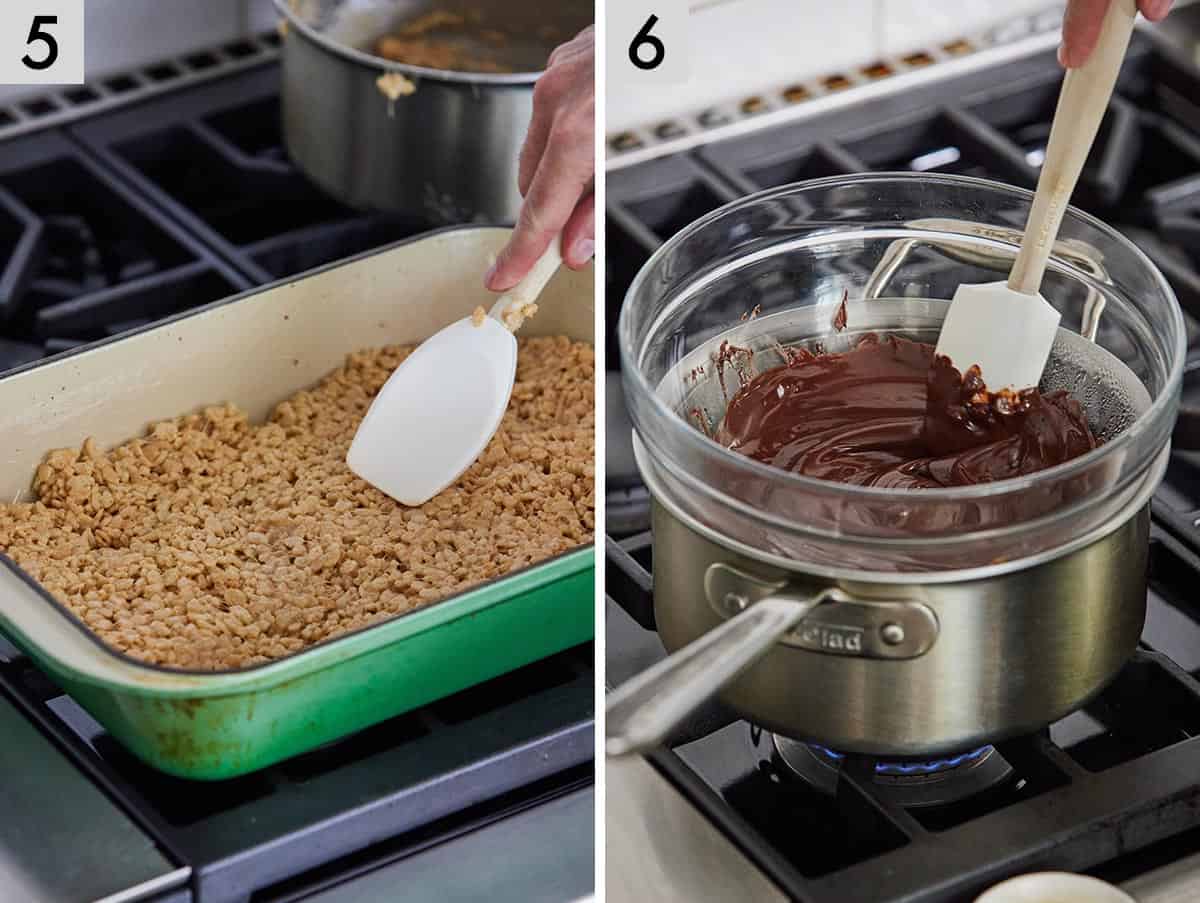
Step 5: Using a spatula, transfer the Rice Krispie mixture into the prepared baking dish. Set aside.
Step 6: Place a heat resistant bowl on top of a pot over medium low heat. Once the water starts to boil the chocolate will slowly melt. Stir throughout. Add vegetable oil and continue to stir frequently for another few minutes until the chocolate and oil have combined.
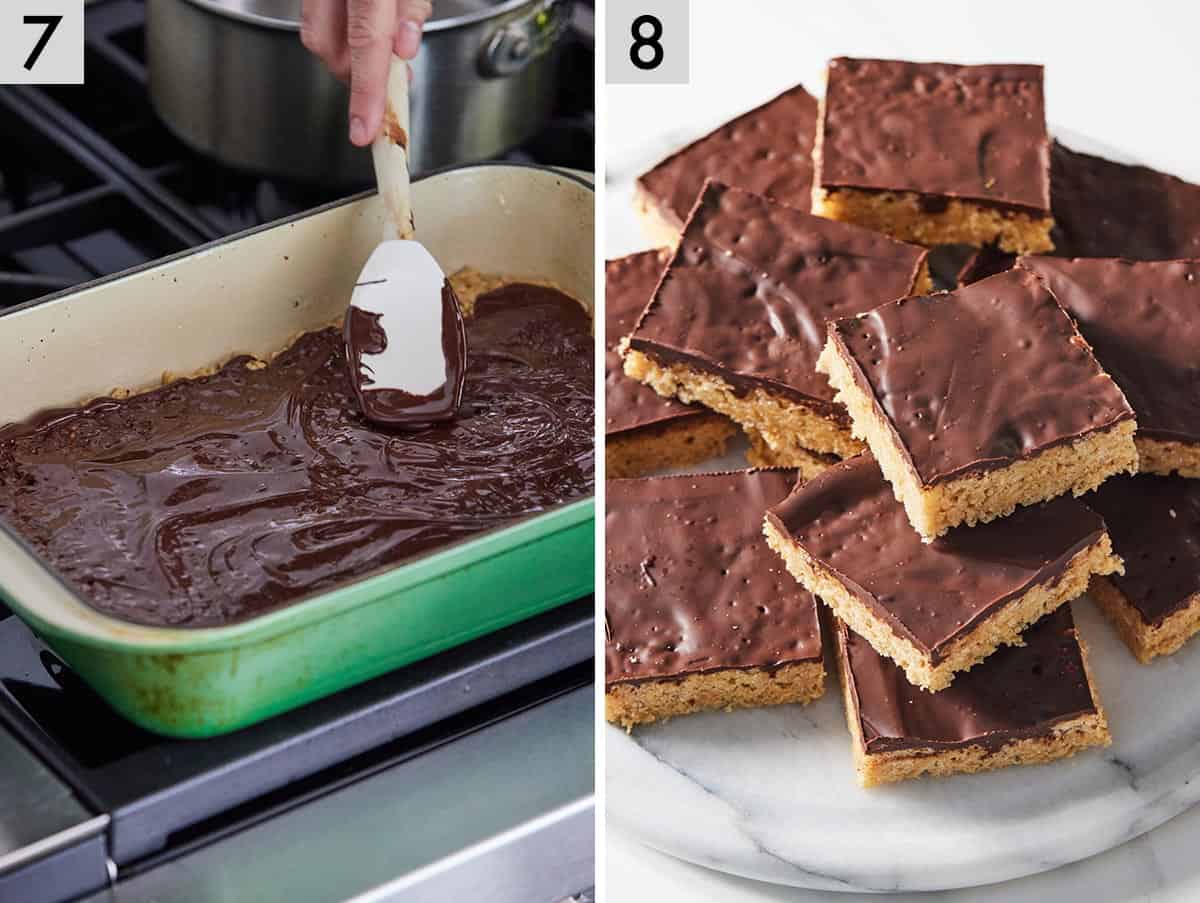
Step 7: Pour the melted chocolate on top of the rice krispie treats in the baking dish and let sit for about an hour or until the chocolate has hardened.
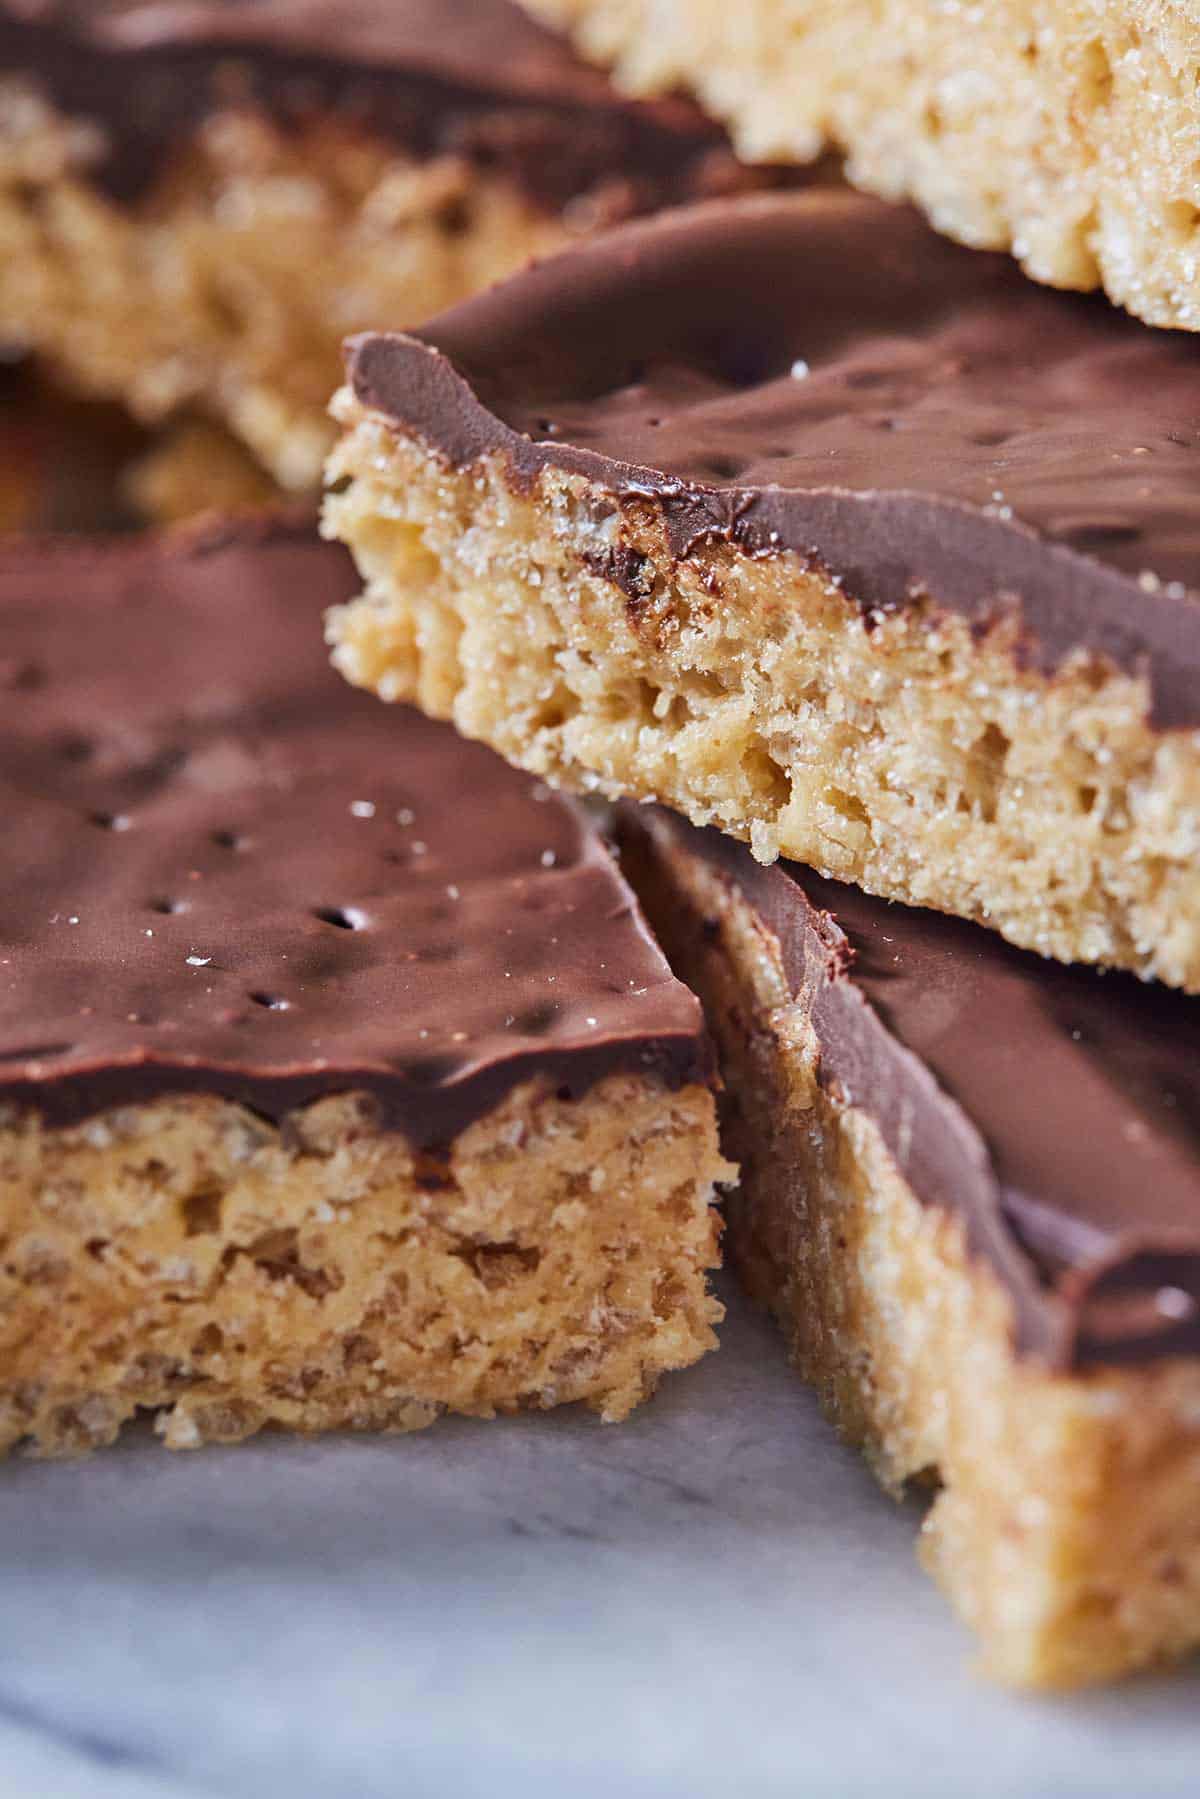
Step 8: Cut into squares and enjoy.
Tips For This Recipe
- To make thicker squares, you can use a smaller baking dish. You will need to adjust the setting time as it’ll take longer to set.
- If you are using natural peanut butter, be sure to stir it really well and the separated oil is mixed back into the peanut butter before using.
- You can mix in some extra mini marshmallows at the end if you’d like to have pockets of marshmallows when you bite in.
- You can also melt the peanut butter marshmallow mixture in the microwave by putting the butter and marshmallows in a large heat-proof bowl. Microwave in 30-second intervals, stirring between, until they are both melted.
- If you don’t want to grease your baking dish, you can always line it with parchment paper instead.
- When melting the chocolate, make sure you don’t get any water into the bowl, or the chocolate will seize.
- Avoid overheating the chocolate as it will leave the chocolate layer looking dull.
- To make it easier to cut, you can chill the rice krispie treats for 10 to 20 minutes.
Frequently Asked Questions
Store the leftover treats in an airtight container for about 5 days. You can keep them in the refrigerator as well.
These peanut butter and chocolate rice krispie treats are freezer-friendly. I prefer storing them with wax paper between each square so I can pull them out as needed from the freezer. Freeze for up to 2 months and thaw overnight in the fridge when ready to eat.
Feel free to stir in other mix-ins such as chocolate chips, peanut butter chips, M&M’s, and pretzels for an extra added crunch into your peanut butter rice crispy treats. You can also sprinkle on flakey sea salt over the chocolate layer before it hardens for extra flavor.
Double-check that your mini marshmallows are fresh. If the marshmallows are stale, dry, or sticky, then the rice krispie treats will be hard and stale.
IF YOU LOVE THIS RECIPE TRY THESE OUT!
If you’ve tried this Peanut Butter Rice Krispie Recipe, then don’t forget to leave me a 5 star rating and let me know how it went in the comments below!

Peanut Butter Rice Krispie Treats
Ingredients
- ¼ cup butter
- 1 10 oz bag mini marshmallows
- ½ cup peanut butter
- 5 cups Rice Krispie Cereal
- 1 cup chocolate chips
- 2 tsp avocado oil
Instructions
- Grease an 9 x 12 baking pan with butter or cooking spray.
- In a large pot heat over low heat melt the butter, marshmallows, and peanut butter while stirring frequently.
- Once the mixture has become soft and melted, add in the Rice Krispie cereal and mix well until combined.
- Using a spatula, transfer the Rice Krispie mixture into the prepared baking dish. Set aside.
- Now we are going to melt the chocolate: clean out the same pot you used to melt the butter and add about 3 inches of water. Place a heat resistant bowl into the pot and turn the heat to medium low. Once the water starts to boil the chocolate will slowly melt. Make sure you stir frequently to keep the chocolate from burning. When the chocolate has started to melt add the avocado oil and continue to stir frequently for another few minutes until the chocolate and oil have combined.
- Pour the melted chocolate on top of the Rice Kripie in the baking dish and let sit for about an hour or until the chocolate has hardened.
- Cut into squares and enjoy.
Video
Notes
- To make thicker squares, you can use a smaller baking dish. You will need to adjust the setting time as it’ll take longer to set.
- If you are using natural peanut butter, be sure to stir it really well and the separated oil is mixed back into the peanut butter before using.
- You can mix in some extra mini marshmallows at the end if you’d like to have pockets of marshmallows when you bite in.
- You can also melt the peanut butter marshmallow mixture in the microwave by putting the butter and marshmallows in a large heat-proof bowl. Microwave in 30-second intervals, stirring between, until they are both melted.
- If you don’t want to grease your baking dish, you can always line it with parchment paper instead.
- When melting the chocolate, make sure you don’t get any water into the bowl, or the chocolate will seize.
- Avoid overheating the chocolate as it will leave the chocolate layer looking dull.
- To make it easier to cut, you can chill the rice krispie treats for 10 to 20 minutes.
Leave a Reply