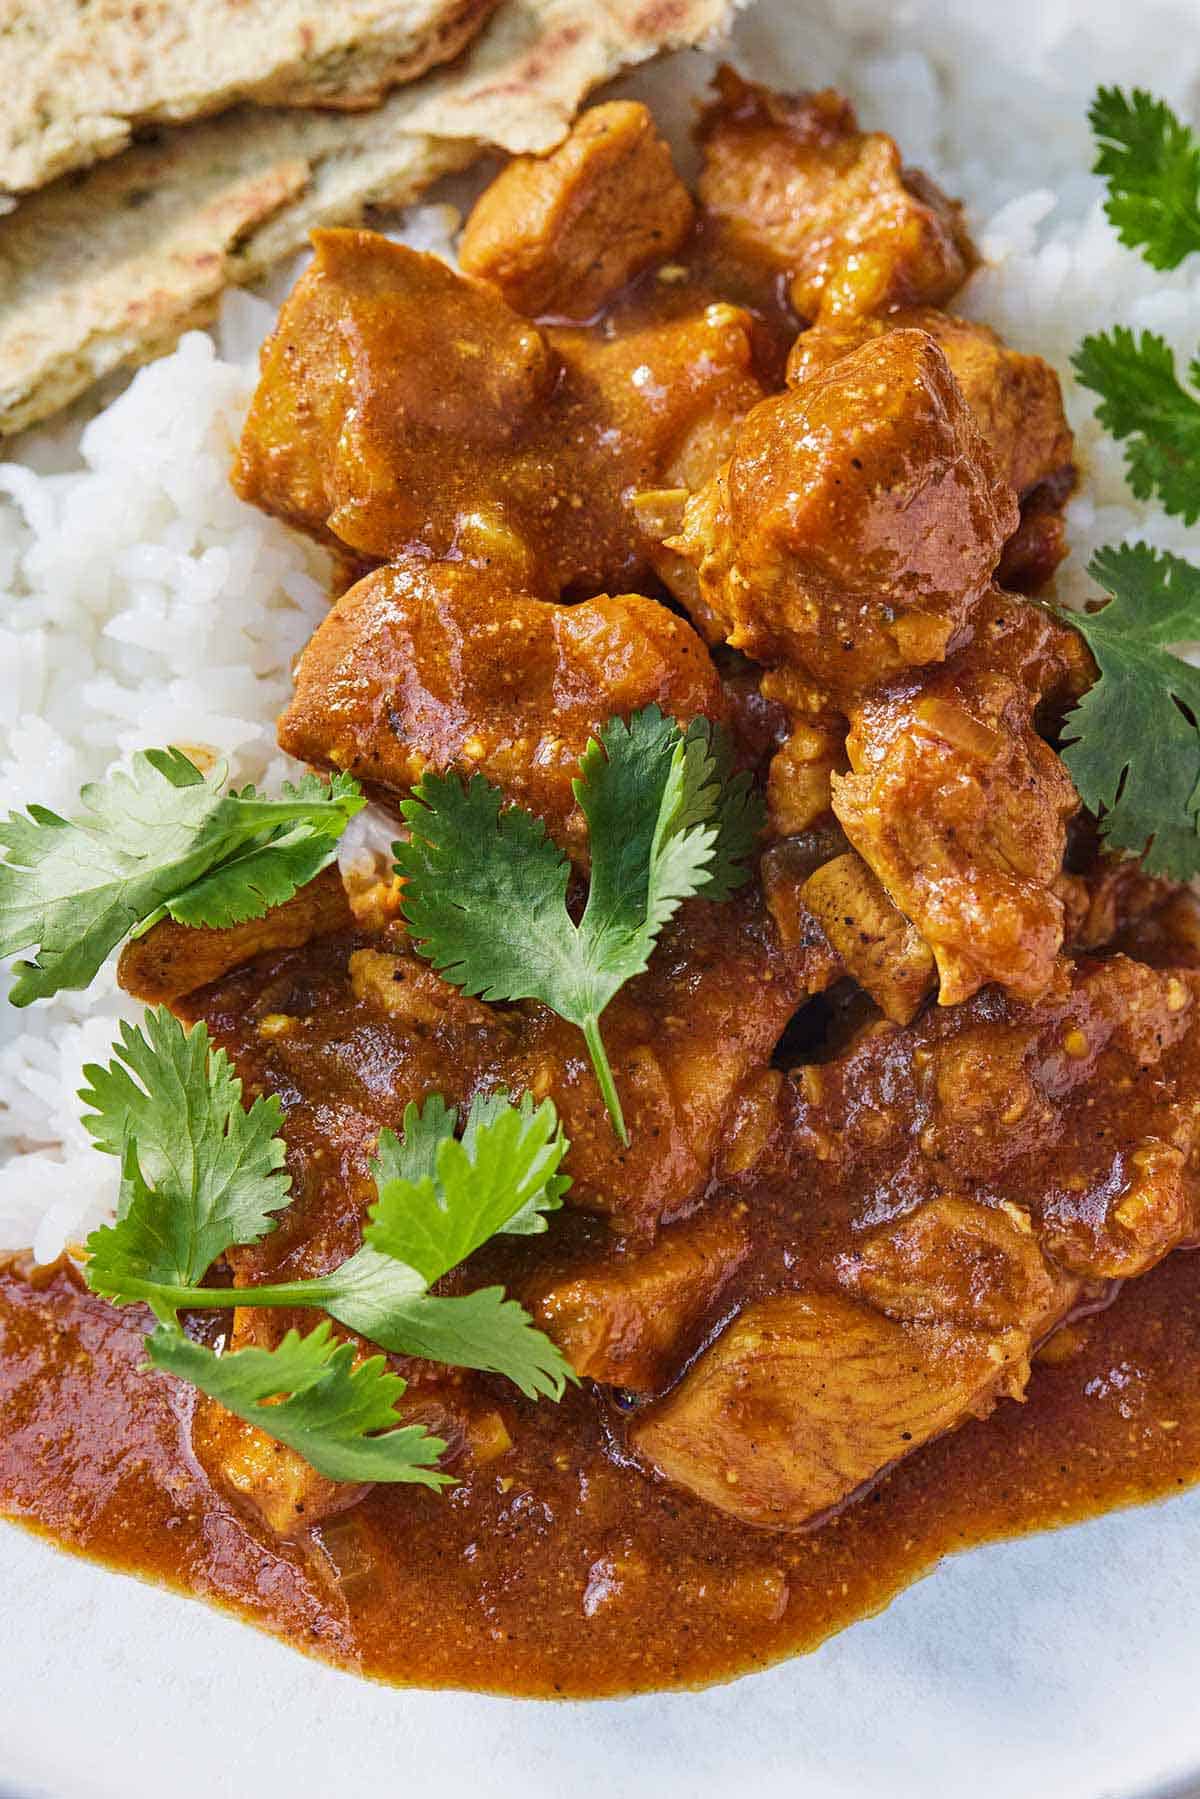
Rich, creamy, and aromatic, my whole family loves when I make this chicken tikka masala. It is such a delicious chicken recipe as the spices make it so flavorful. And thanks to the pressure cooker, this becomes an easy weeknight recipe. It is a recipe that I turn to if I’ve had a long day at work, and I don’t want to stand over the stove but still want something delicious.
Like many curries, there are many versions of tikka masala as the spices used vary with geographical region. This recipe is my take on our go-to Indian takeout, tweaked to my family’s palette.
Key Ingredients You Need
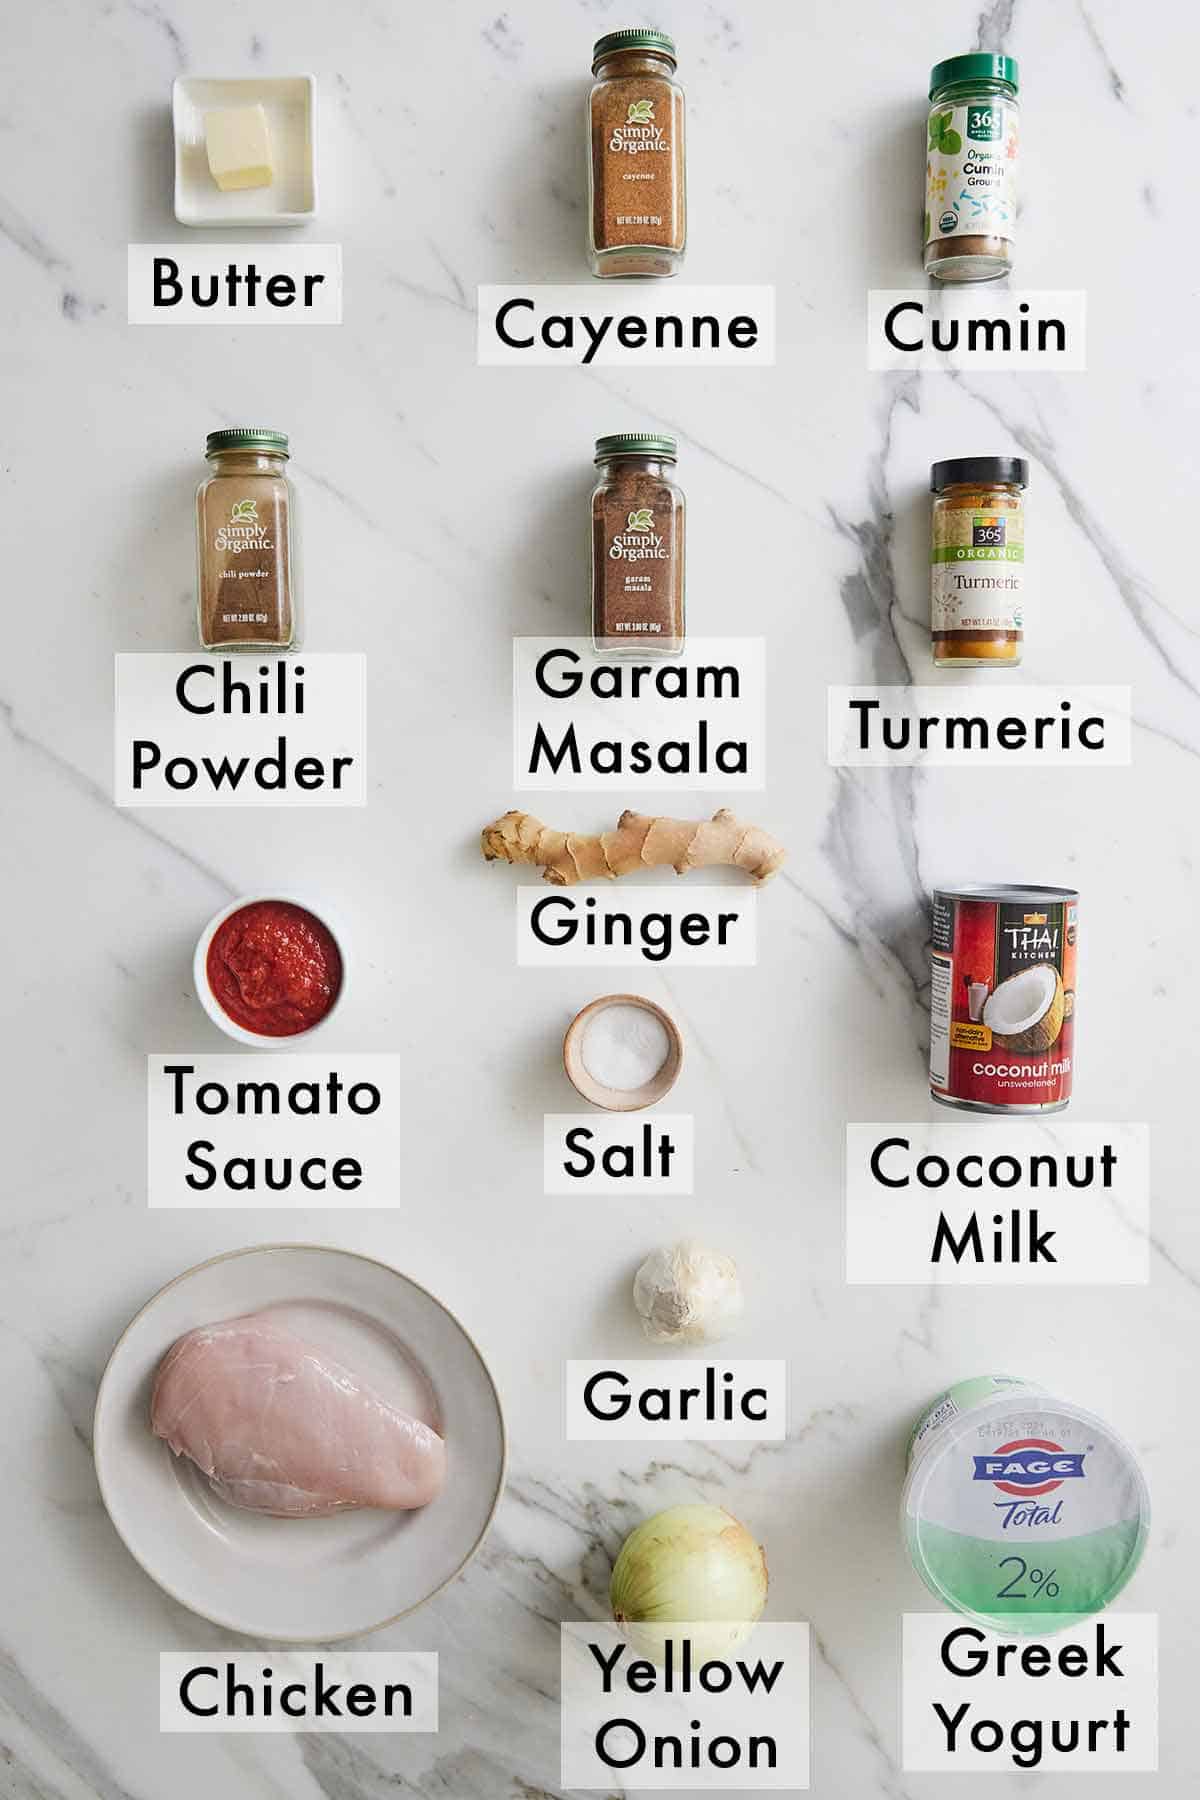
Chicken — I use boneless skinless chicken breasts that I cut into 1-inch cubes. If you only have boneless skinless chicken thighs, you can use that as well.
Spices — There are quite a few spices needed to make a delicious tikka masala. You’ll need garam masala, chili powder, cumin, turmeric, and cayenne pepper. I do not suggest substituting any of these. You should be able to find all of these at a local grocery store or online.
Tomato Sauce — You want to use tomato sauce and not canned diced or whole tomatoes. The sauce should be smooth without chunks of tomatoes.
Coconut Milk — Unsweetened and full-fat coconut milk will give your tikka masala that creamy texture.
Greek Yogurt — To make the sauce even creamier, I stir in Greek yogurt before serving it. Make sure to not accidentally use flavored yogurt.
How to Make Instant Pot Chicken Tikka Masala
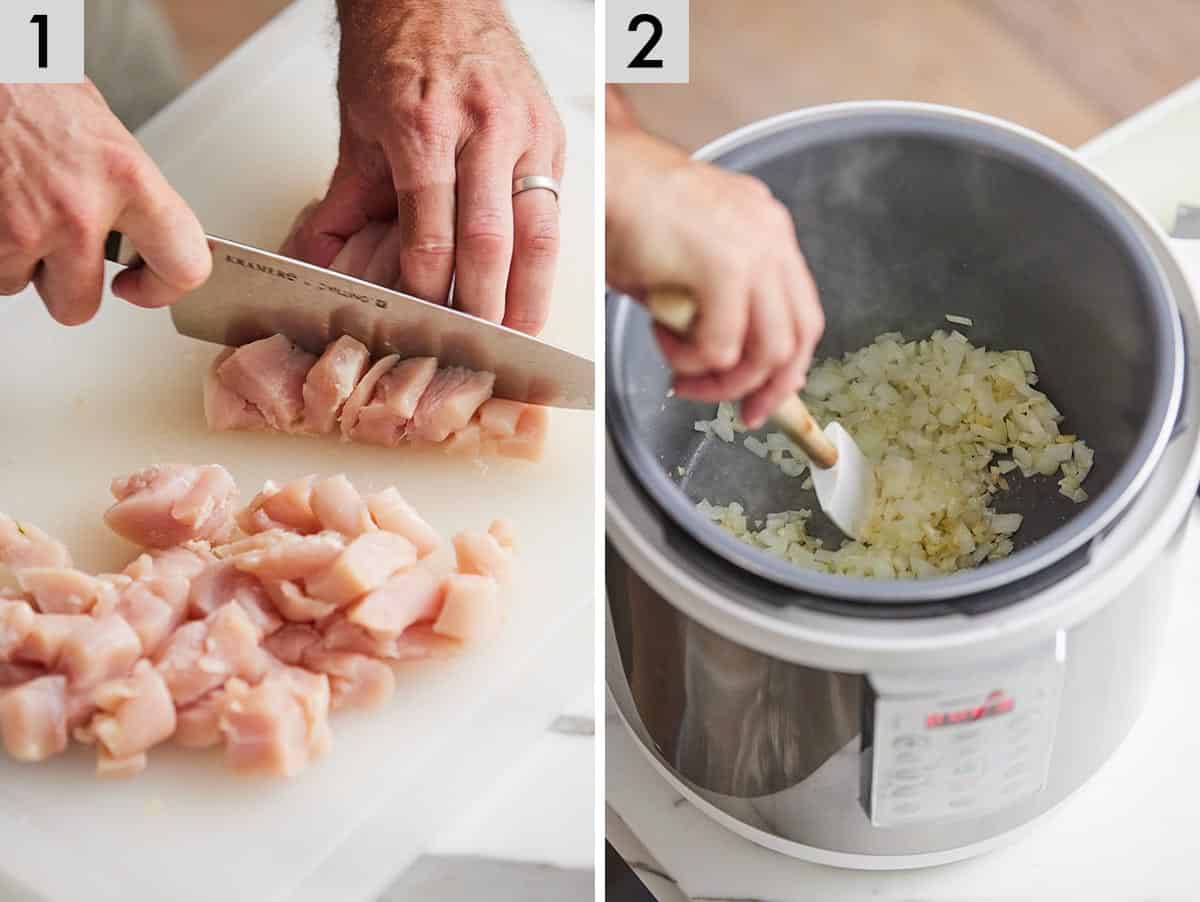
Step 1: Dice the chicken breasts into 1-inch cubes.
Step 2: Set the pressure cooker to SAUTE mode and add the butter. Once it’s melted, add the onion, garlic, and ginger. Cook until the onion has softened.
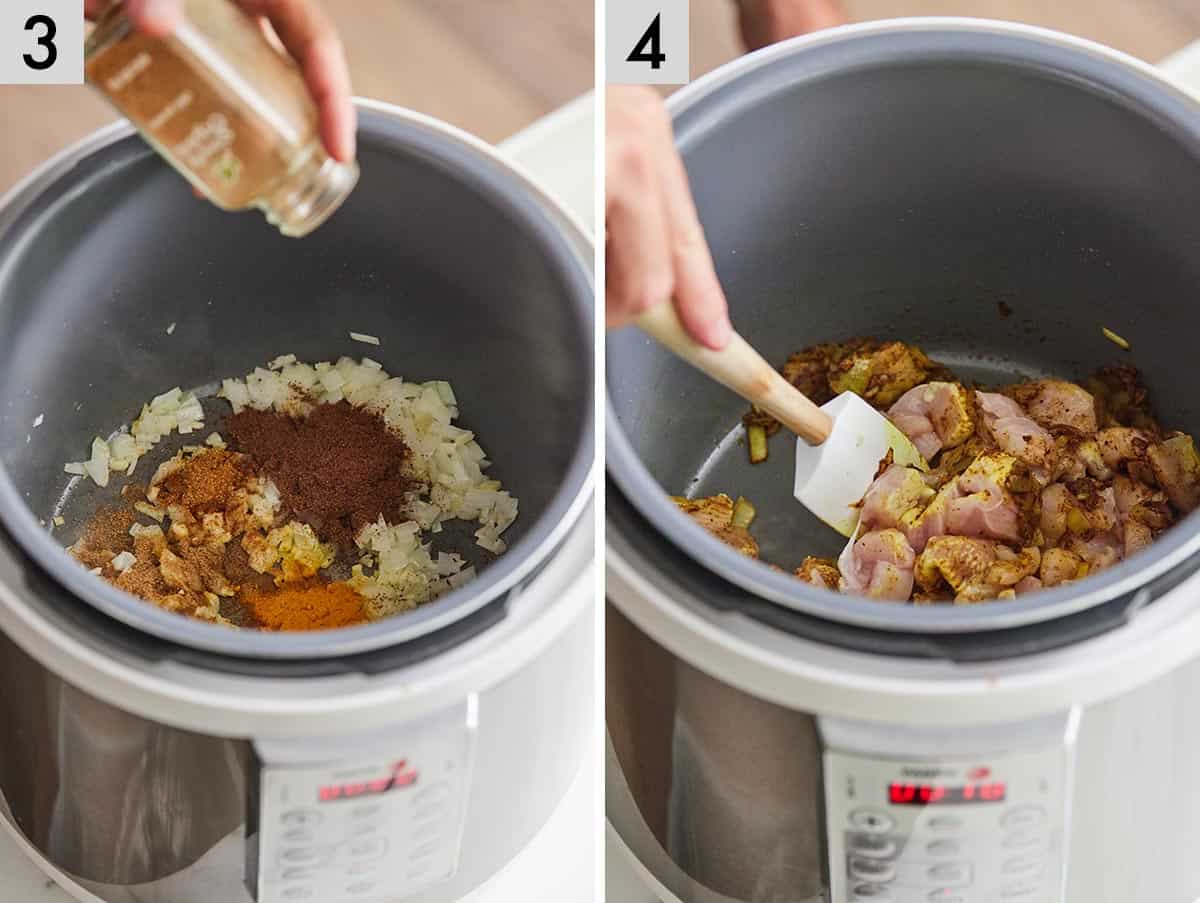
Step 3: Add the garam masala, chili powder, cumin, turmeric, salt, and cayenne and cook for 1 minute or until fragrant.
Step 4: Add the chicken pieces and toss to coat with the onion and spices.
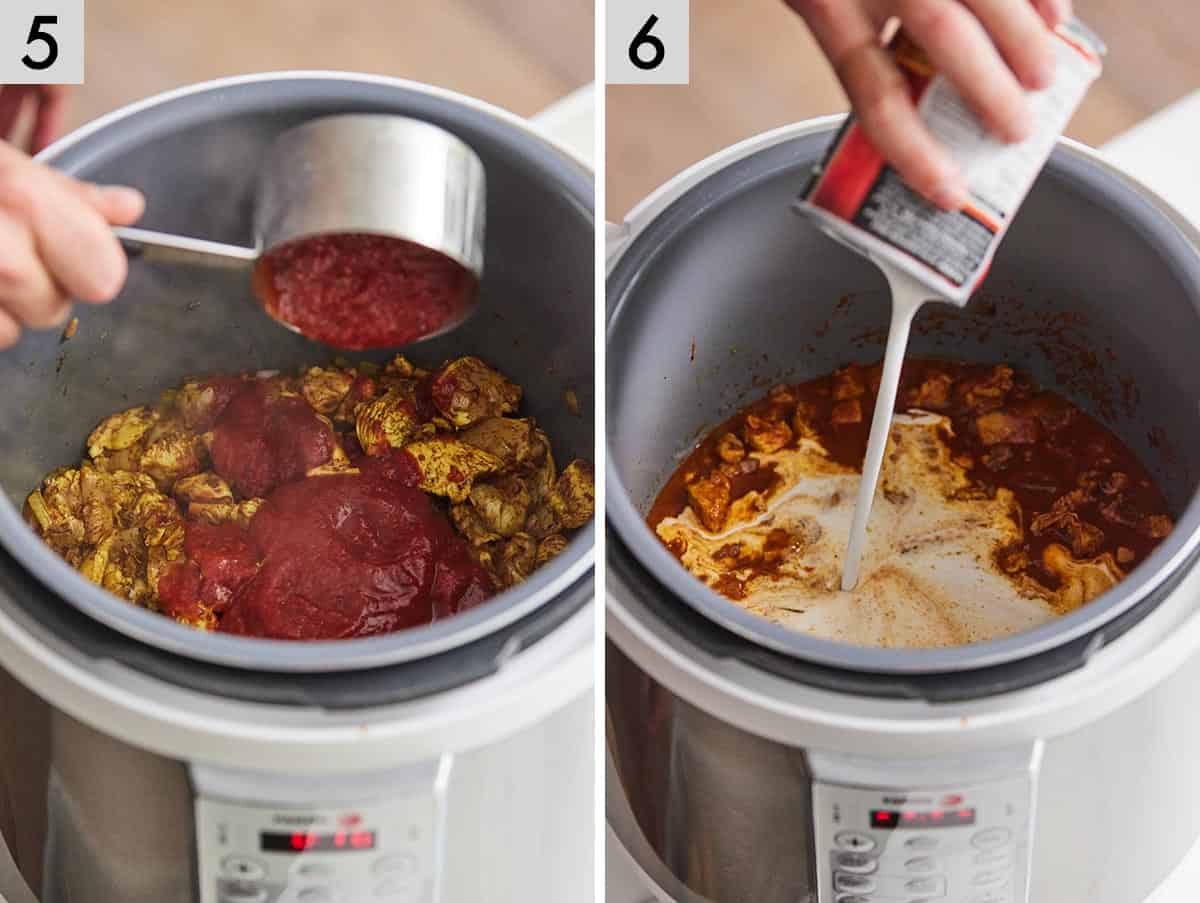
Step 5: Add the tomato sauce. Stir to combine and then place the cover on the Instant Pot and set to PRESSURE COOK on HIGH for 6 minutes. Once the timer has completed, do a QUICK RELEASE on the pressure.
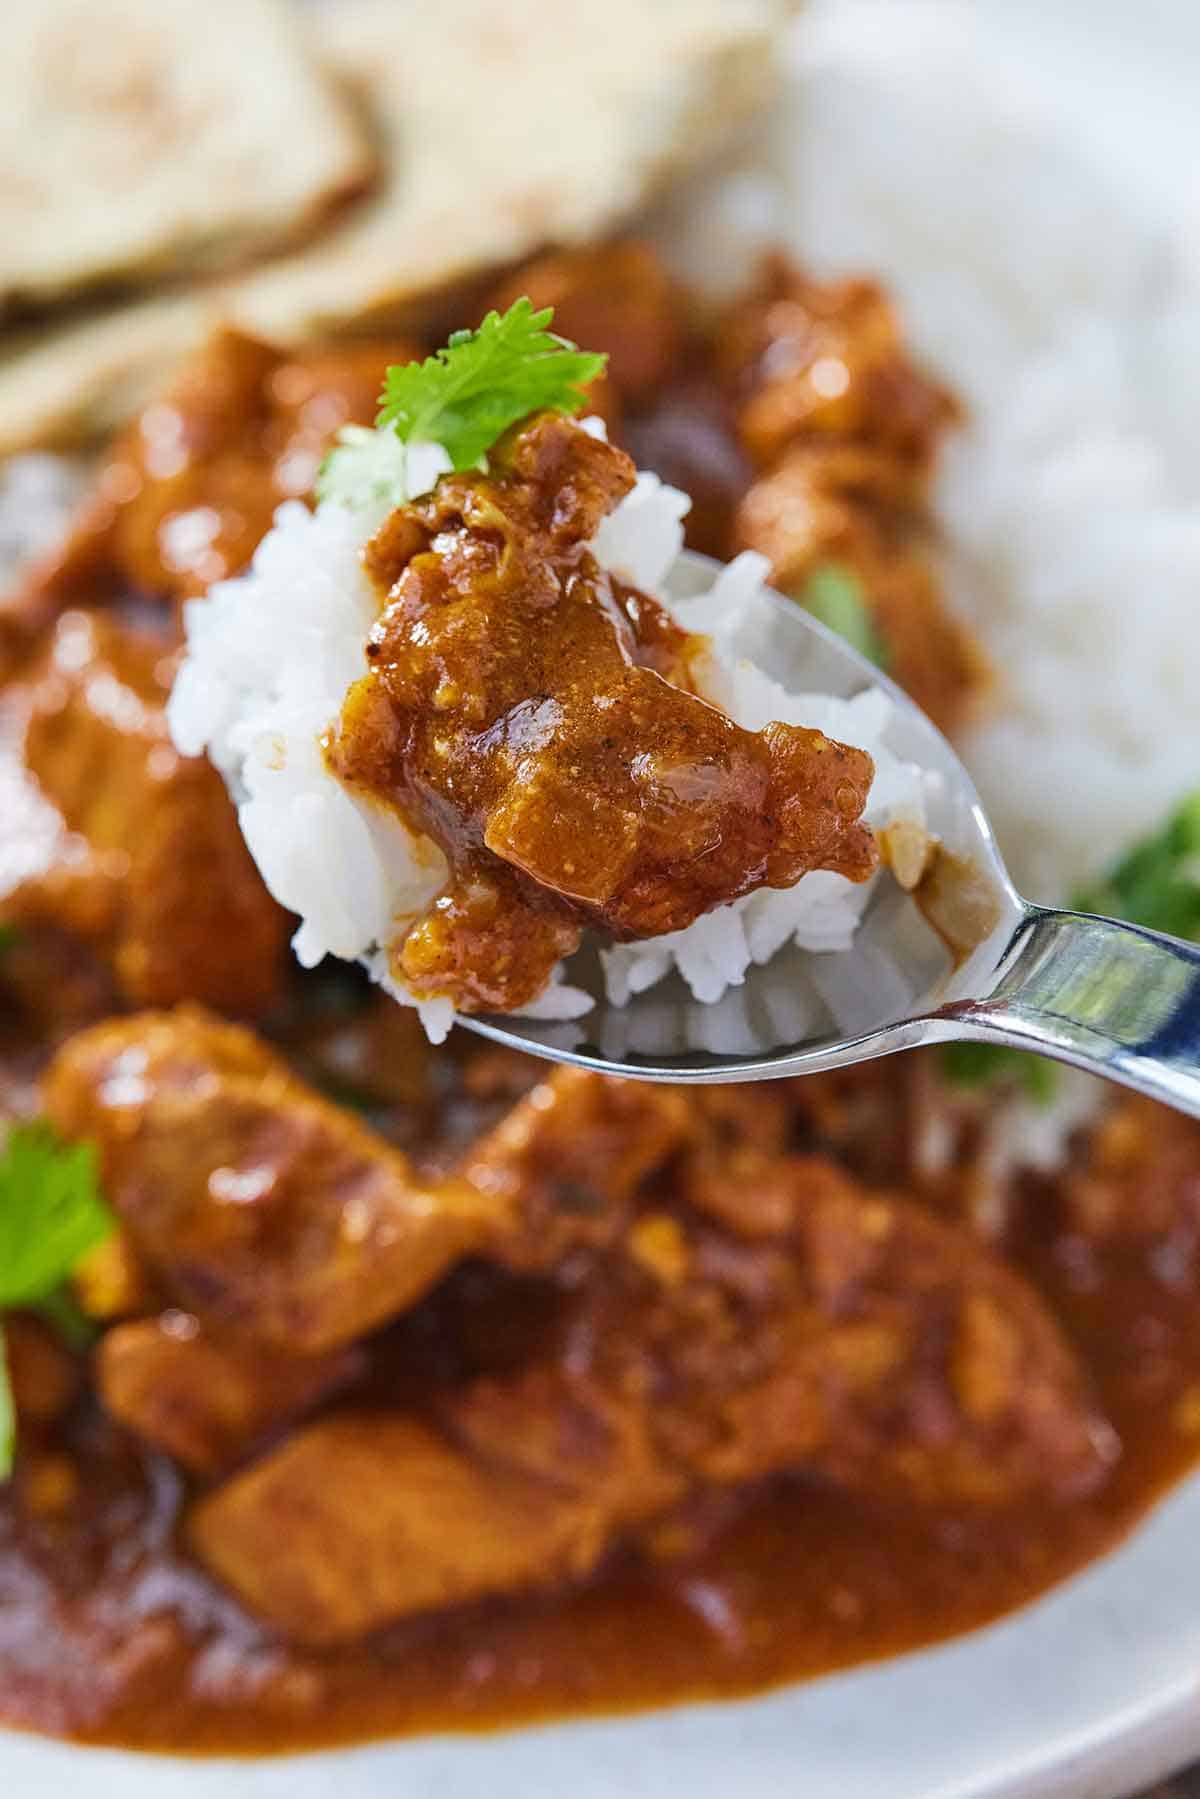
Step 6: Set the Instant Pot back to SAUTE mode and add the coconut milk. Let the mixture simmer for about 10 minutes. Turn off the Instant Pot and let the mixture cool for about 5 minutes. Then, stir in the yogurt before serving and garnishing. Serve with rice and/or naan. My cauliflower rice is a great side as well!
Tips For This Recipe
- This is not a dump-and-go recipe. You must saute the aromatics and spices so the flavors can really shine. Make sure the spices are fragrant before moving onto pressure cooking. It’s only a couple of extra minutes of work for a significant payoff in flavor!
- Spices, especially the garam masala, must be fresh! While spices don’t go “bad” or spoil, expired spices tend to taste dull.
- If anything is on the bottom of the pot after sauteeing, add a splash of water or broth to deglaze it. Doing so will help decrease the odds of a burn notice.
- Store leftovers in an airtight container in the refrigerator for up to 3 days. This recipe is freezer-friendly as well. Allow the dish to cool before transferring to a freezer-safe container.
- When quick releasing pressure, be sure that the valve is facing away from you (and not directly under your cabinets!) so the steam does not cause any burns.
Frequently Asked Questions
While both dishes look similar at first, their flavors are different. Tikka masala has a more complex taste due to the spice blend used, whereas butter chicken is milder and has a sweeter sauce.
Compared to typical take-out, this recipe might be healthier. Instead of adding a ton of heavy cream or butter, this homemade version uses coconut milk and Greek yogurt to make the sauce thick and creamy. The rest of the ingredients like chicken, tomato sauce, onion, ginger, etc are not something I would consider unhealthy either.
Curry is a sauce seasoned with spices so yes tikka masala is considered a curry.
To keep the sauce from separating, I recommend slowly and gently reheating the leftovers on the stovetop (or on saute mode).
If you’ve tried this Instant Pot Chicken Tikka Masala Recipe, then don’t forget to leave me a 5 star rating and let me know how it went in the comments below!
Instant Pot Chicken Tikka Masala
Ingredients
- 2 lbs boneless skinless chicken breast cut into 1” pieces
- 2 tbsp unsalted butter
- 1 small yellow onion chopped finely
- 4 cloves of garlic minced
- 1 tbsp ginger minced
- 1 tbsp garam masala
- 1 tsp chili powder
- 1 tsp cumin ground
- 1 tsp turmeric ground
- 1 tsp salt
- ¼ tsp cayenne
- 1 can tomato sauce 8 oz
- 1 can coconut milk 14 oz
- ¼ cup yogurt I used Greek
Optional to serve with:
- cilantro
- rice
- naan
Instructions
- Set the Instant Pot to SAUTE mode and add the butter. Once it’s melted, add the onion, garlic, and ginger. Cook until the onion has softened, about 3 minutes. Then add the garam masala, chili powder, cumin, turmeric, salt, and cayenne and cook for 1 minute or until fragrant.
- Add the chicken pieces and toss to coat with the onion and spices. Cook for 3 minutes and then add the tomato sauce. Stir to combine and then place the cover on the Instant Pot and set to PRESSURE COOK on HIGH for 6 minutes. Once the timer has completed, do a QUICK RELEASE on the pressure.
- Set the Instant Pot back to SAUTE mode and add the coconut milk. Let the mixture simmer for about 10 minutes.
- Turn off the Instant Pot and let the mixture cool for about 5 minutes. Then, stir in the yogurt.
- Garnish with chopped cilantro and serve alongside rice and/or naan.
Video
Notes
- This is not a dump-and-go recipe. You must saute the aromatics and spices so the flavors can really shine. Make sure the spices are fragrant before moving onto pressure cooking. It’s only a couple of extra minutes of work for a significant payoff in flavor!
- Spices, especially the garam masala, must be fresh! While spices don’t go “bad” or spoil, expired spices tend to taste dull.
- If anything is on the bottom of the pot after sauteeing, add a splash of water or broth to deglaze it. Doing so will help decrease the odds of a burn notice.
- Store leftovers in an airtight container in the refrigerator for up to 3 days. This recipe is freezer-friendly as well. Allow the dish to cool before transferring to a freezer-safe container.
- When quick releasing pressure, be sure that the valve is facing away from you (and not directly under your cabinets!) so the steam does not cause any burns.








Leave a Reply